
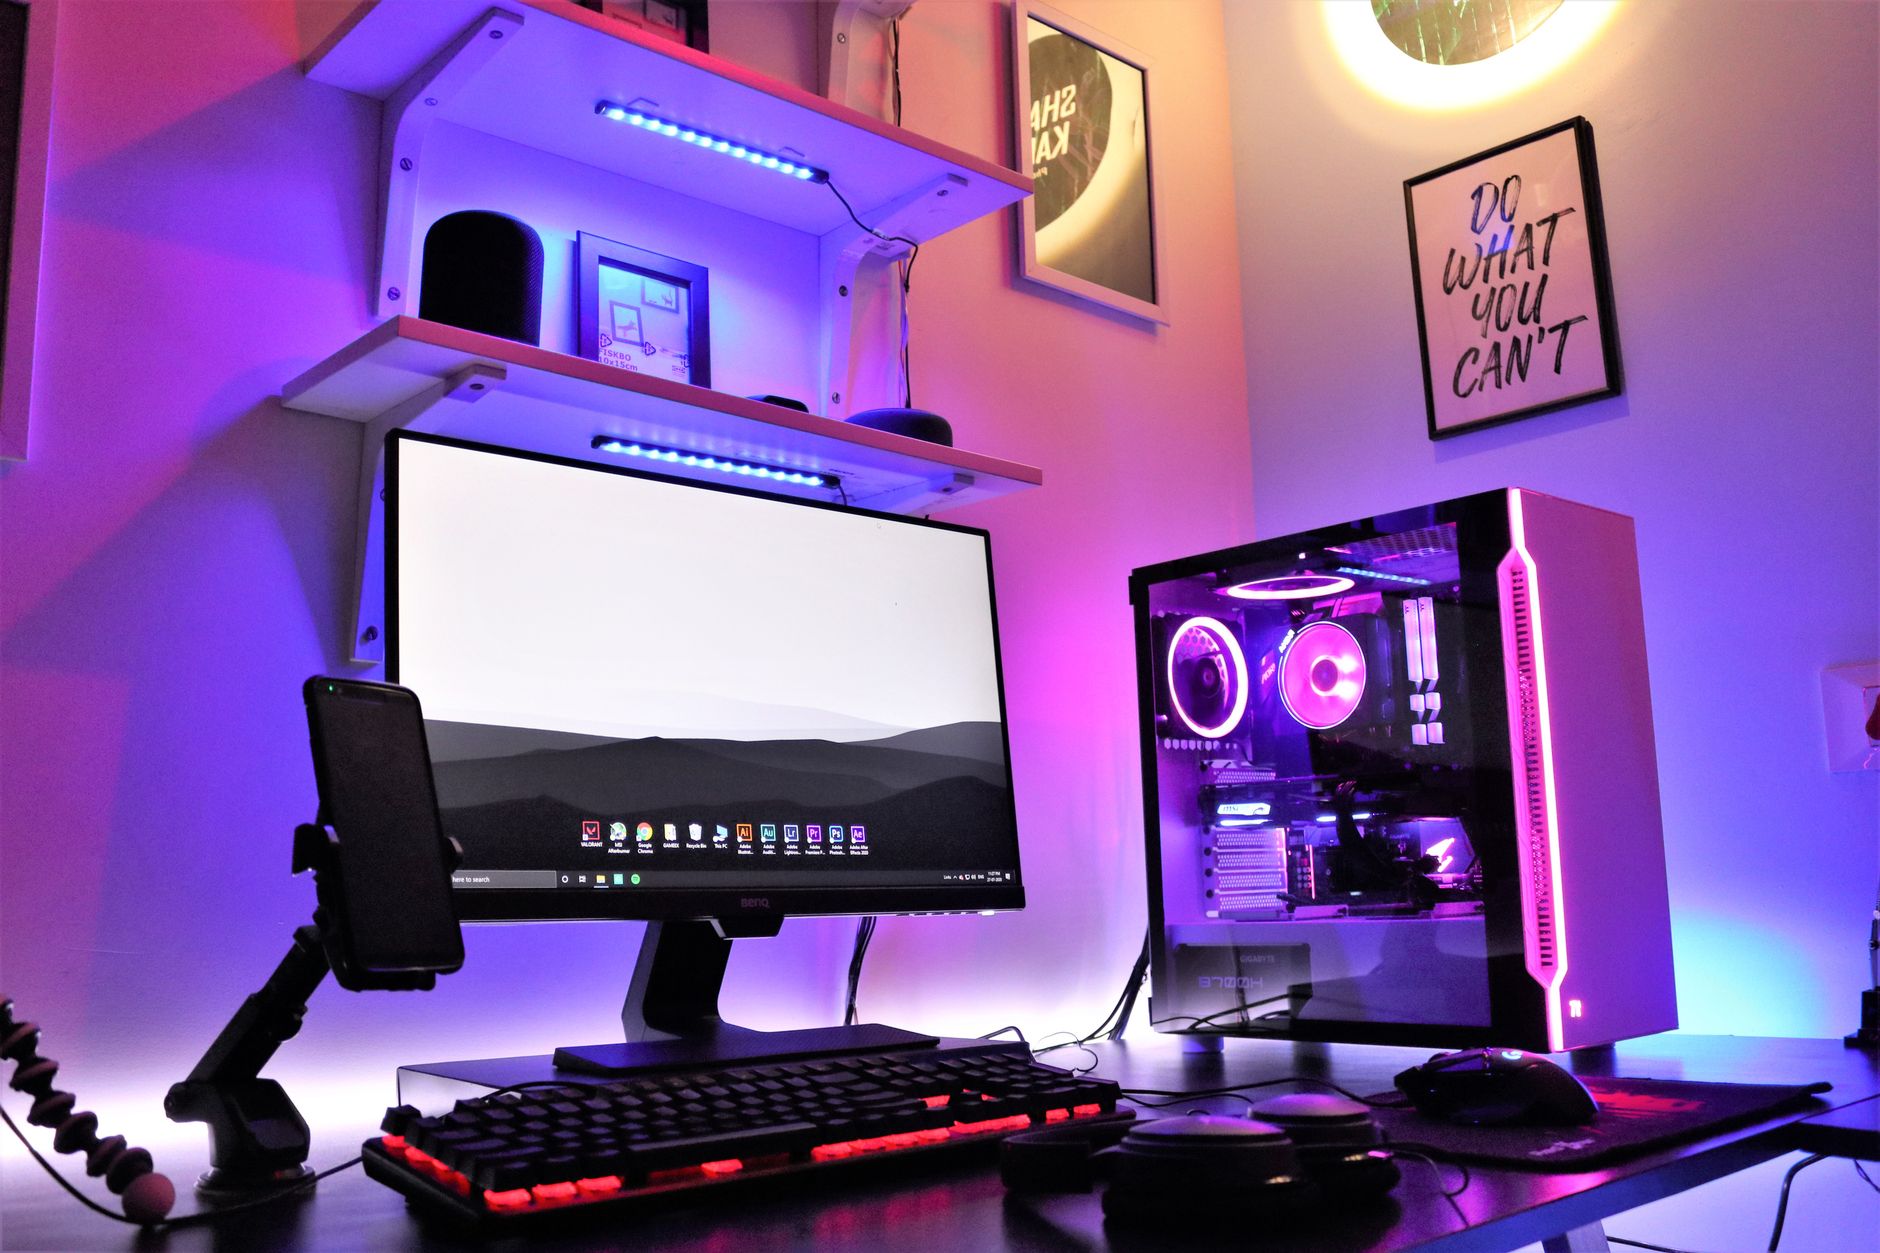
Building a gaming PC can be both an exciting and rewarding experience for tech enthusiasts and gamers alike. Not only do you get to customize your machine, but you can also save money compared to purchasing a pre-built system. This guide provides you with all the necessary requirements, components, and steps needed to successfully build your gaming PC.
Whether you are a beginner or looking to upgrade your current setup, understanding the essential hardware and assembly process will ensure your gaming rig runs smoothly and efficiently. Let’s dive into the requirements and setup steps for building a gaming PC.
What Do You Need to Build a Gaming PC?
To build a gaming PC, you will need to gather specific components along with some essential tools. Below is a list of the necessary hardware components and tools:
Essential Hardware Components
- Central Processing Unit (CPU): The brain of your gaming PC that processes instructions and performs calculations.
- Motherboard: The main circuit board that connects all components and peripherals.
- Graphics Processing Unit (GPU): A crucial element for rendering images and videos, especially in gaming.
- Random Access Memory (RAM): Temporary storage that provides quick access to the CPU for data processing.
- Storage Drives: Solid State Drives (SSD) or Hard Disk Drives (HDD) to store your operating system and games.
- Power Supply Unit (PSU): Converts electricity from your wall outlet to a usable form for your components.
- Computer Case: Enclosure that houses all your components, providing protection and airflow.
- Cooling System: Can be air coolers or liquid cooling solutions to keep the temperature in check.
- Operating System (OS): Software that runs on your PC, commonly Windows for gaming.
Optional Components
- Optical Drive: For those who use physical copies of games.
- Additional Case Fans: To improve airflow within your case.
- RGB Lighting: To enhance the aesthetic appeal of your build.
- Sound Card: For enhanced audio quality (often not necessary as most motherboards come with built-in audio).
Necessary Tools
- Phillips Head Screwdriver: For screwing in components.
- Anti-Static Wrist Strap: To prevent static damage to components.
- Cable Ties: For organizing cables inside the case.
- Thermal Paste: If not pre-applied on your CPU cooler, this helps in heat transfer between the CPU and cooler.
Steps to Build a Gaming PC
With the necessary components and tools in hand, follow these steps to assemble your gaming PC.
Step 1: Prepare Your Workspace
- Find a clean, dry environment with adequate lighting for assembling your PC.
- Clear the space of clutter and gather all your tools and components.
- Static electricity can damage components, so consider wearing an anti-static wrist strap or frequently touching a grounded metal surface.
Step 2: Install the CPU on the Motherboard
- Open the CPU socket on the motherboard by lifting the lever.
- Line up the CPU with the socket, ensuring the triangle mark on the CPU matches the one on the socket.
- Carefully place the CPU in the socket and secure it by lowering the lever.
Step 3: Apply Thermal Paste
If your CPU cooler does not come with pre-applied thermal paste, apply a small amount (about the size of a pea) to the center of the CPU. This helps to ensure proper heat dissipation.
Step 4: Install the CPU Cooler
- Attach the CPU cooler following the manufacturer’s instructions. Typically, this involves aligning the cooler with the mounting bracket and securing it in place.
- Connect the cooler’s power cable to the CPU fan header on the motherboard.
Step 5: Install RAM Modules
- Locate the RAM slots on the motherboard. They are usually nearby the CPU socket.
- Open the clips on the sides of the RAM slots.
- Align the RAM module with the slot (the notch on the module should match the notch on the slot) and press it down until the clips click into place.
Step 6: Install the Motherboard in the Case
- Locate the standoffs in your case, as these will help keep the motherboard elevated from the case.
- Remove any extra standoffs that do not align with your motherboard. Replace them with the provided screws to secure the motherboard.
- Align the motherboard with the I/O ports on the back of the case, and secure it using the screws provided.
Step 7: Install the Power Supply Unit (PSU)
- Insert the PSU into the case, generally at the bottom or top, depending on your case’s design.
- Secure the PSU with screws.
- Organize the cables to avoid obstructing airflow.
Step 8: Install the Storage Drives
- Mount the SSD or HDD in the designated slots or bays within your case.
- Secure them with screws as necessary.
- Connect the SATA power and data cables from the drives to the motherboard and power supply.
Step 9: Install the Graphics Card (GPU)
- Locate the PCI Express x16 slot on your motherboard, usually the longest slot.
- Remove the backplate(s) from your case needed for the GPU’s ports.
- Align the GPU on the PCIe slot and press down firmly until you hear a click.
- Secure the GPU using screws, if available, and connect the required power connectors from the PSU.
Step 10: Connect All Cables
- Connect the power cables from the PSU to the motherboard, GPU, and storage drives.
- Use the motherboard’s manual to ensure you connect the front panel connectors (like the power button, audio, and USB connectors) properly.
- Ensure everything is securely connected, and manage the cables to improve airflow.
Step 11: Power Up and Install the Operating System
- Double-check all connections, making sure everything is secure.
- Plug the power cable into the PSU and turn it on. Connect your monitor, keyboard, and mouse.
- Press the power button on your PC. If everything is connected correctly, you should see the BIOS screen.
- Follow the prompts to enter the BIOS and set your boot device to the storage drive with your operating system installation media (USB or DVD).
- Exit the BIOS and boot from the installation media to install your OS.
Step 12: Install Drivers and Updates
- After installing the operating system, ensure you download drivers for your motherboard and GPU from their respective manufacturers’ websites.
- Install any required updates to ensure your system runs optimally.
Common Issues and Troubleshooting
Even the best-laid plans can run into issues. Here are a few common problems you might encounter and their possible solutions:
System Doesn’t Boot
- Check all power connections, including the main 24-pin connector and the CPU power connector.
- Verify that all components are properly seated, including the RAM and GPU.
- Check for any motherboard beeping or LED error codes indicating the specific issue.
Overheating
- Ensure sufficient airflow in the case; consider adding more case fans for improved ventilation.
- Check that the CPU cooler is properly installed with adequate thermal paste.
Peripheral Issues
- Make sure all peripheral devices are plugged in securely and tested on another system.
- Test different USB ports to determine if a specific port is malfunctioning.
Conclusion
Building a gaming PC is a rewarding project that allows you to customize your gaming experience to fit your needs. By carefully selecting your components and following the steps outlined in this guide, you can create a powerful machine. After finishing your build, you’ll want to enjoy all that your new gaming rig can offer. Ready to dive in? Start purchasing your components and begin the exciting building process!
For more tech tutorials, like how to build a PC or how to check your motherboard model, explore additional guides on our site.