
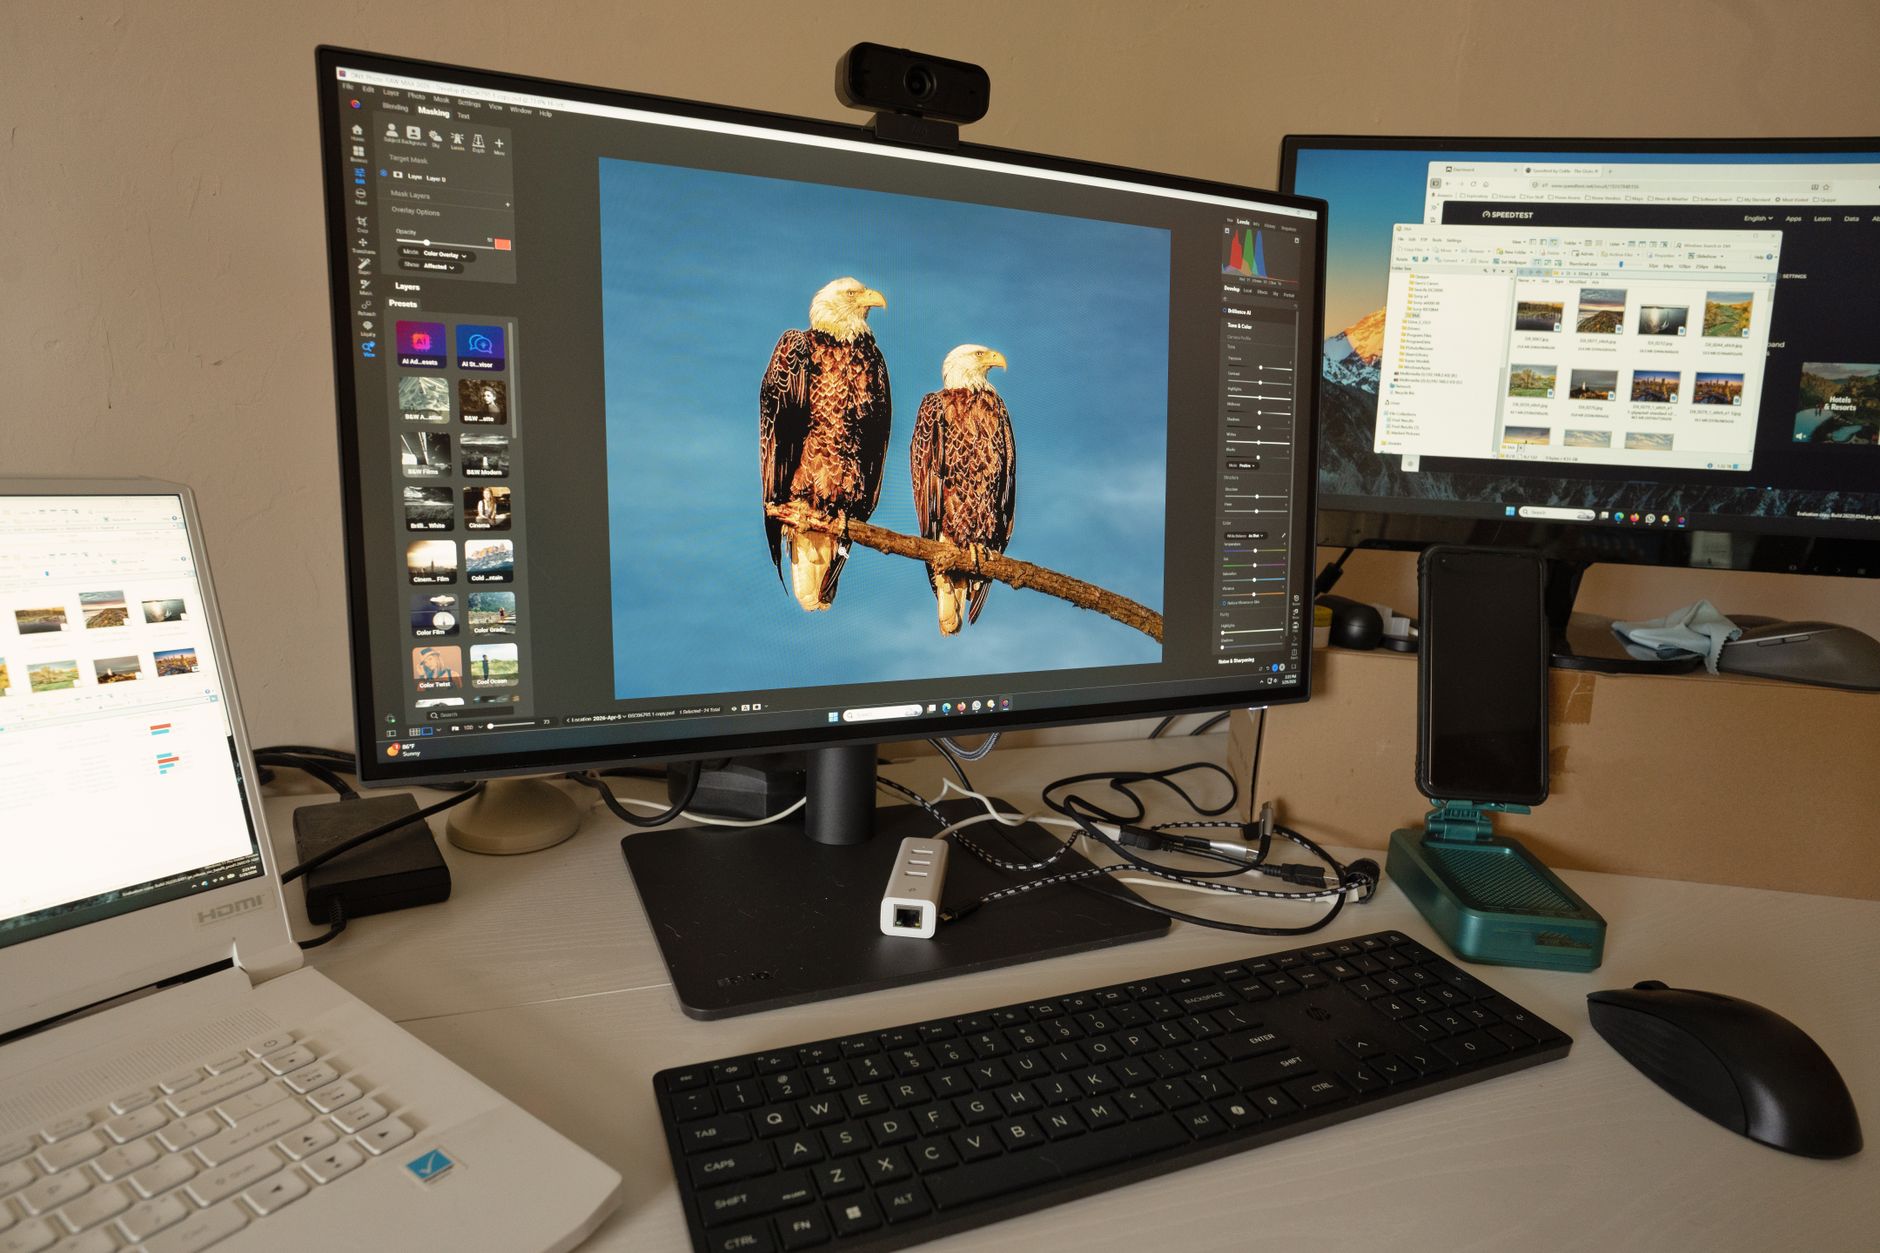
With the increasing number of multitasking requirements in our daily digital activities, knowing how to use split screen across different devices can significantly enhance productivity. This guide will walk you through splitting your screen on Windows, Mac, iPad, and Chromebook, enabling you to view two applications side by side.
Whether you are comparing documents, referencing materials while writing emails, or conducting online meetings while enjoying video content, mastering the split screen feature enhances your workflow. Let’s dive into how to effectively use this functionality on various platforms.
How to Split Screen (Windows, Mac, iPad, and Chromebook)?
To split your screen across different devices, you need to understand the specific steps for each operating system. Below is a comprehensive breakdown of how to achieve this on Windows, Mac, iPad, and Chromebook.
1. How to Split Screen on Windows
Windows offers a built-in feature for split-screen functionality that allows you to easily arrange your open applications. To successfully split the screen on Windows, follow these steps:
Prerequisites
- A computer running Windows 10 or later.
- Multiple applications open for splitting.
Steps to Split Screen
- Open the first application you want to display.
- Click and hold on the title bar of the application window.
- Drag the window to the left or right side of your screen until you see an outline indicating the position.
- Release the mouse button to snap the window to that side.
- Windows will display thumbnails of open applications on the opposite side. Select the second application you want to split screen with.
Confirmation of Success
If done correctly, your screen should now show two applications side by side. You can adjust the width of each application by dragging the divider between them left or right.
Troubleshooting Common Issues
If you encounter issues with the split screen feature, consider the following:
- Ensure that the applications you are trying to split are not minimized.
- Check if your display settings are configured correctly (especially if using multiple monitors).
- Restart Windows Explorer via Task Manager if the snapping feature isn’t working.
2. How to Split Screen on Mac
Splitting the screen on a Mac is straightforward and can be achieved in a few simple steps using the Split View feature of macOS. Follow these instructions:
Prerequisites
- A Mac running macOS El Capitan or later.
- Two open applications ready for splitting.
Steps to Split Screen
- Open the first application you would like to use.
- Hover your mouse over the green traffic light button in the top-left corner of the window.
- Choose “Tile Window to Left of Screen” or “Tile Window to Right of Screen” from the dropdown that appears.
- Once you select one side, macOS will display the other open applications in the opposite pane. Click on the second application to fill the remaining space.
Confirmation of Success
Your Mac should now show both applications side by side. Similar to Windows, you can adjust the size by dragging the center divider.
Troubleshooting Common Issues
If Split View isn’t working properly, check the following:
- Make sure both applications support full-screen mode.
- Restart the applications or your Mac if they become unresponsive.
- Ensure that your Mac is running an up-to-date version of macOS.
3. How to Split Screen on iPad
iPads provide an excellent multitasking feature known as Split View, available on devices running iOS 9 or later. Here’s how to use it:
Prerequisites
- An iPad running iOS 9 or later.
- Compatible applications installed to use with Split View.
Steps to Split Screen
- Open the first application you want to use.
- Swipe up from the bottom of the screen to access the Dock.
- Locate the second application in the Dock, then drag it to the left or right edge of the screen until it turns into a Split View.
- Release the application to enter Split View.
Confirmation of Success
Both applications should now be visible side by side. You can adjust the width of each app by dragging the divider in the middle.
Troubleshooting Common Issues
If you’re unable to use Split View, consider these points:
- Not all apps support Split View; ensure both applications can use this feature.
- Restart your iPad if the Dock fails to behave as expected.
- Ensure your iPad is running the latest version of iOS.
4. How to Split Screen on Chromebook
Chromebooks provide an easy way to split screens using the Chrome OS. Here’s how you can do it:
Prerequisites
- A Chromebook running the latest version of Chrome OS.
- Multiple applications or tabs open in Chrome.
Steps to Split Screen
- Click and hold the title bar of the first window you want to split.
- Drag the window to the left or right until you see a light outline indicating where it will snap.
- Release the mouse button to snap the window into place.
- For the second window, repeat the process by either opening a new tab or application.
Confirmation of Success
The applications should now be arranged as you wanted, with both windows visible. Adjust the middle divider to resize the windows as necessary.
Troubleshooting Common Issues
If you run into problems, try these solutions:
- Ensure that both applications you want to split are open and not minimized.
- Restart your Chromebook if functionality appears to be disrupted.
- Check for software updates under Settings to ensure your Chrome OS is up-to-date.
Tips for Using Split Screen Effectively
Using split screen can greatly enhance efficiency, but here are some tips to use this feature effectively across all platforms:
- Customize your screen layout according to your task; for example, some users prefer having a larger area for one application.
- Regularly update your applications and operating system to ensure smooth functionality.
- Utilize shortcuts where available; for instance, Windows users can press
Windows + Left ArroworWindows + Right Arrowto quickly snap windows. - Experiment with different applications to find the perfect pair for your multitasking needs.
- Stay organized by closing applications not in use to declutter your view.
Common Applications Ideal for Split Screen
Some applications and use cases work exceptionally well with split screen functionality. Here are examples to consider:
- Web browsers for researching while taking notes in a text editor.
- Video conferencing tools alongside presentation software.
- Email applications with task management software.
- File managers next to spreadsheet applications for data entry and reference.
Conclusion
Mastering the split screen capability across Windows, Mac, iPad, and Chromebook can significantly boost productivity and improve workflow efficiency. By following the step-by-step instructions provided above, you can enhance your multitasking capabilities and optimize your digital workspace.
For additional insights and troubleshooting tips, feel free to explore related tech tutorials such as how to do split screen and how to split screen on Chromebook.