
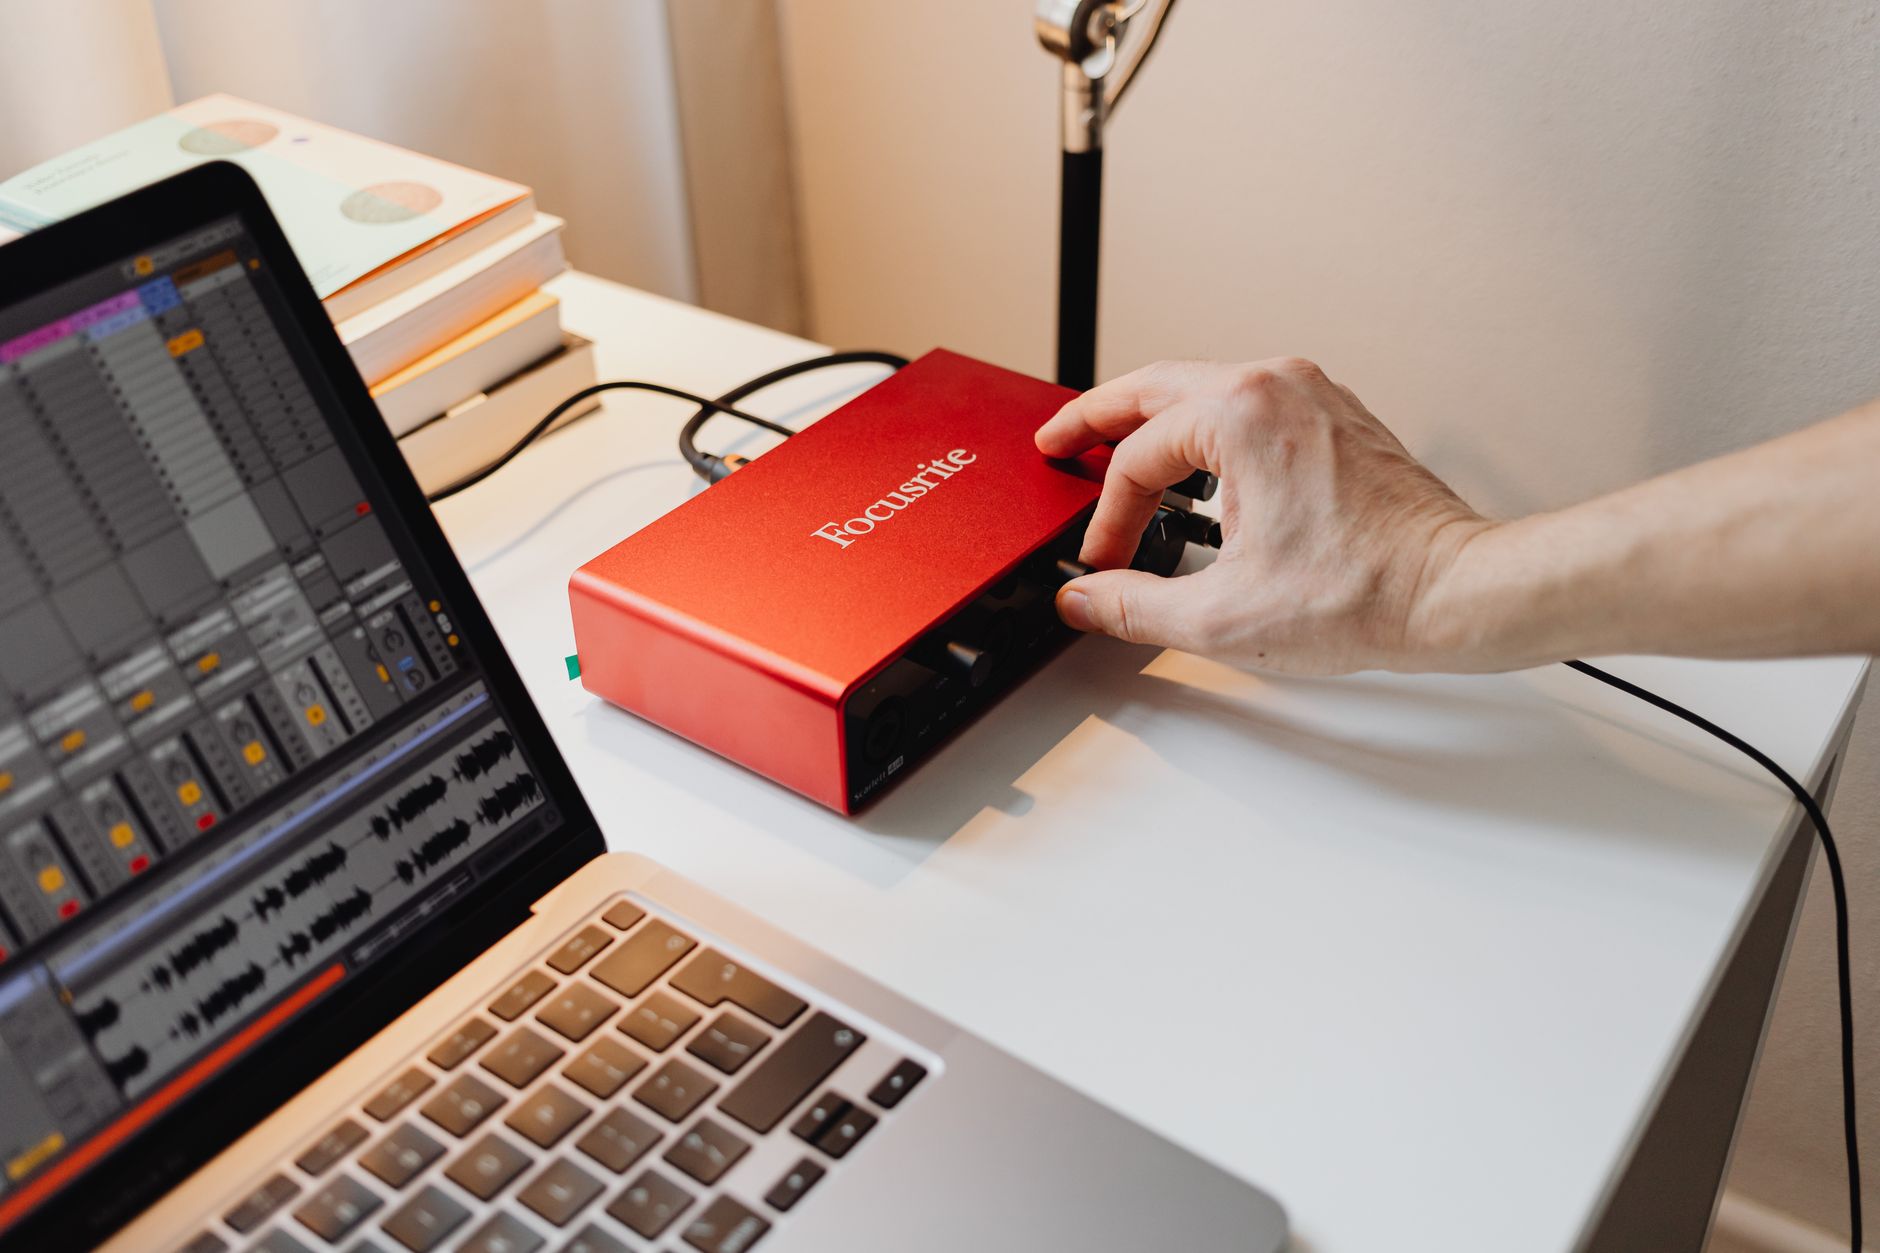
Audio issues on your PC can be frustrating, especially when you need it for meetings, gaming, or simply enjoying music. Fortunately, many audio problems can be resolved through straightforward troubleshooting steps. This guide will delve into how to fix audio issues on your PC, focusing on various components such as speakers, drivers, and settings.
By systematically checking each aspect of your audio setup, you can identify and resolve any problems that arise. Whether your sound is muted, your speakers are not recognized, or your audio drivers are outdated, this guide will provide you with the tools you need to restore sound functionality on your PC.
How to Fix Audio on PC (Speakers, Drivers, and Settings)
To fix audio issues on your PC, start by checking the audio hardware connections, ensuring the right playback device is set in your settings, and updating your audio drivers. This comprehensive guide will take you through each step in detail.
Identifying the Problem
Before diving into troubleshooting, it’s important to identify the specific issue with your PC’s audio. Here are some common symptoms to look for:
- No sound coming from the speakers
- Intermittent audio cutouts or distortions
- Speakers not recognized by the system
- Sound only coming from one speaker
Once you’ve noted the symptoms, follow the steps outlined below to troubleshoot and fix the audio problems.
Step 1: Check Your Connections
Start with the basics by ensuring all audio cables and connections are secure and properly configured.
- Check the speaker connections to your PC. Make sure the audio cable is connected firmly to the audio output jack (usually green) on your computer.
- If you’re using external speakers, ensure they are powered on and the volume is turned up.
- For USB speakers, disconnect and reconnect them to a different USB port.
- If you’re using Bluetooth speakers, verify that they are connected and charged.
After checking the connections, test the sound again.
Step 2: Check Audio Settings
If the connections are secure but there’s still no sound, the next step is to review your audio settings.
- Right-click the speaker icon in the system tray on the bottom right corner of your screen.
- Select “Playback devices.” A window will appear displaying your available audio devices.
- Ensure the correct playback device is set as default. If not, right-click on the desired device and select “Set as Default Device.”
- Highlight the device and click on the “Properties” button. Under the “Levels” tab, make sure the volume slider is not muted or turned down.
Confirm the settings, hit “OK,” and test the audio once more.
Step 3: Troubleshoot Audio Drivers
Outdated or corrupted audio drivers can lead to various audio issues. Follow these steps to troubleshoot your audio drivers.
- Press
Windows + Xand select “Device Manager” from the menu. - Expand the “Sound, video and game controllers” section.
- Right-click your audio device and select “Update driver.”
- Choose “Search automatically for updated driver software.”
Follow any prompts that appear, and then restart your computer. Check if the audio issue persists.
Step 4: Roll Back or Reinstall Drivers
If your audio problem started after a recent driver update, rolling back to the previous version may help.
- In Device Manager, right-click your audio device again.
- Select “Properties” and navigate to the “Driver” tab.
- If the option is available, click “Roll Back Driver.” Follow the prompts to revert to the previous driver.
- If you cannot roll back, you may need to uninstall and then reinstall the driver. Click “Uninstall Device,” confirm, and restart your computer. Windows will automatically reinstall the driver on startup.
Step 5: Use the Windows Audio Troubleshooter
If the issue still isn’t resolved, Windows includes a built-in troubleshooter that can help resolve common audio problems.
- Go to
Settings>Update & Security>Troubleshoot. - Select “Additional troubleshooters.”
- Find and click on “Playing Audio,” then click “Run the troubleshooter.”
Follow the prompts and let Windows detect and fix any issues automatically.
Step 6: Check for Windows Updates
Updating Windows can resolve compatibility issues and improve system performance, which can affect audio functionality.
- Go to
Settings>Update & Security. - Click on “Check for updates” and install any pending updates.
After updating, restart your PC and check the audio again.
Step 7: Restore System Settings
If audio issues began recently, you can restore your system to a previous point before the problem started.
- Type “Create a restore point” in the Windows search box and open it.
- Under the “System Protection” tab, click on “System Restore.”
- Follow the prompts to choose a restore point and complete the process.
After system restoration, verify if the audio is functioning correctly.
Hardware Troubleshooting
If you have tried all the software solutions and the audio issue persists, it may indicate a hardware fault. Below are some troubleshooting steps to diagnose hardware problems.
Check the Speakers
To ensure your speakers are working properly, perform the following checks:
- Connect the speakers to a different device (like a smartphone) to see if they work.
- Try a different set of speakers or headphones with your PC.
If alternative speakers work, then the original speakers may need replacement or repair.
Check the Audio Jack
If the sound is only coming from one speaker, the audio jack may be damaged. To test this:
- Insert a different audio cable into the audio jack.
- Try another port if your PC has multiple audio outputs.
Advanced Solutions
If you are comfortable with advanced troubleshooting, here are additional steps to resolve persistent audio issues.
Disable Audio Enhancements
Audio enhancements can often interfere with sound quality. To disable them:
- Right-click the speaker icon in the system tray and select “Playback devices.”
- Select your default playback device and click “Properties.”
- Go to the “Enhancements” tab and check “Disable all enhancements.” Click “OK” to apply changes.
Change the Audio Format
Sometimes, changing the audio format can address compatibility issues.
- Open the “Properties” window for your playback device again.
- Under the “Advanced” tab, select a different audio format from the drop-down menu and click “Test.”
If sound works, click OK, and set this as the default format.
Consider Using External USB Sound Cards
If issues persist despite thorough troubleshooting, consider investing in an external USB sound card. These devices plug directly into a USB port and can provide enhanced audio performance and additional outputs that might help circumvent internal hardware issues.
Final Thoughts
Fixing audio issues on your PC can be straightforward if you follow the right steps. By starting with basic checks and gradually moving to more advanced solutions, you can effectively troubleshoot and restore sound functionality. Remember that both software and hardware components can influence audio performance, so thorough examination is key.
In cases where the issue remains unresolved despite all efforts, consulting a professional technician might be necessary. Exploring warranty options or support services may also be beneficial.
Now that you have a comprehensive guide on fixing audio on your PC, the next step is to explore related tech topics. For instance, if you’re also facing Bluetooth issues, you can check out how to restart the Bluetooth service or learn about improving system performance in our article on fixing slow laptops.