
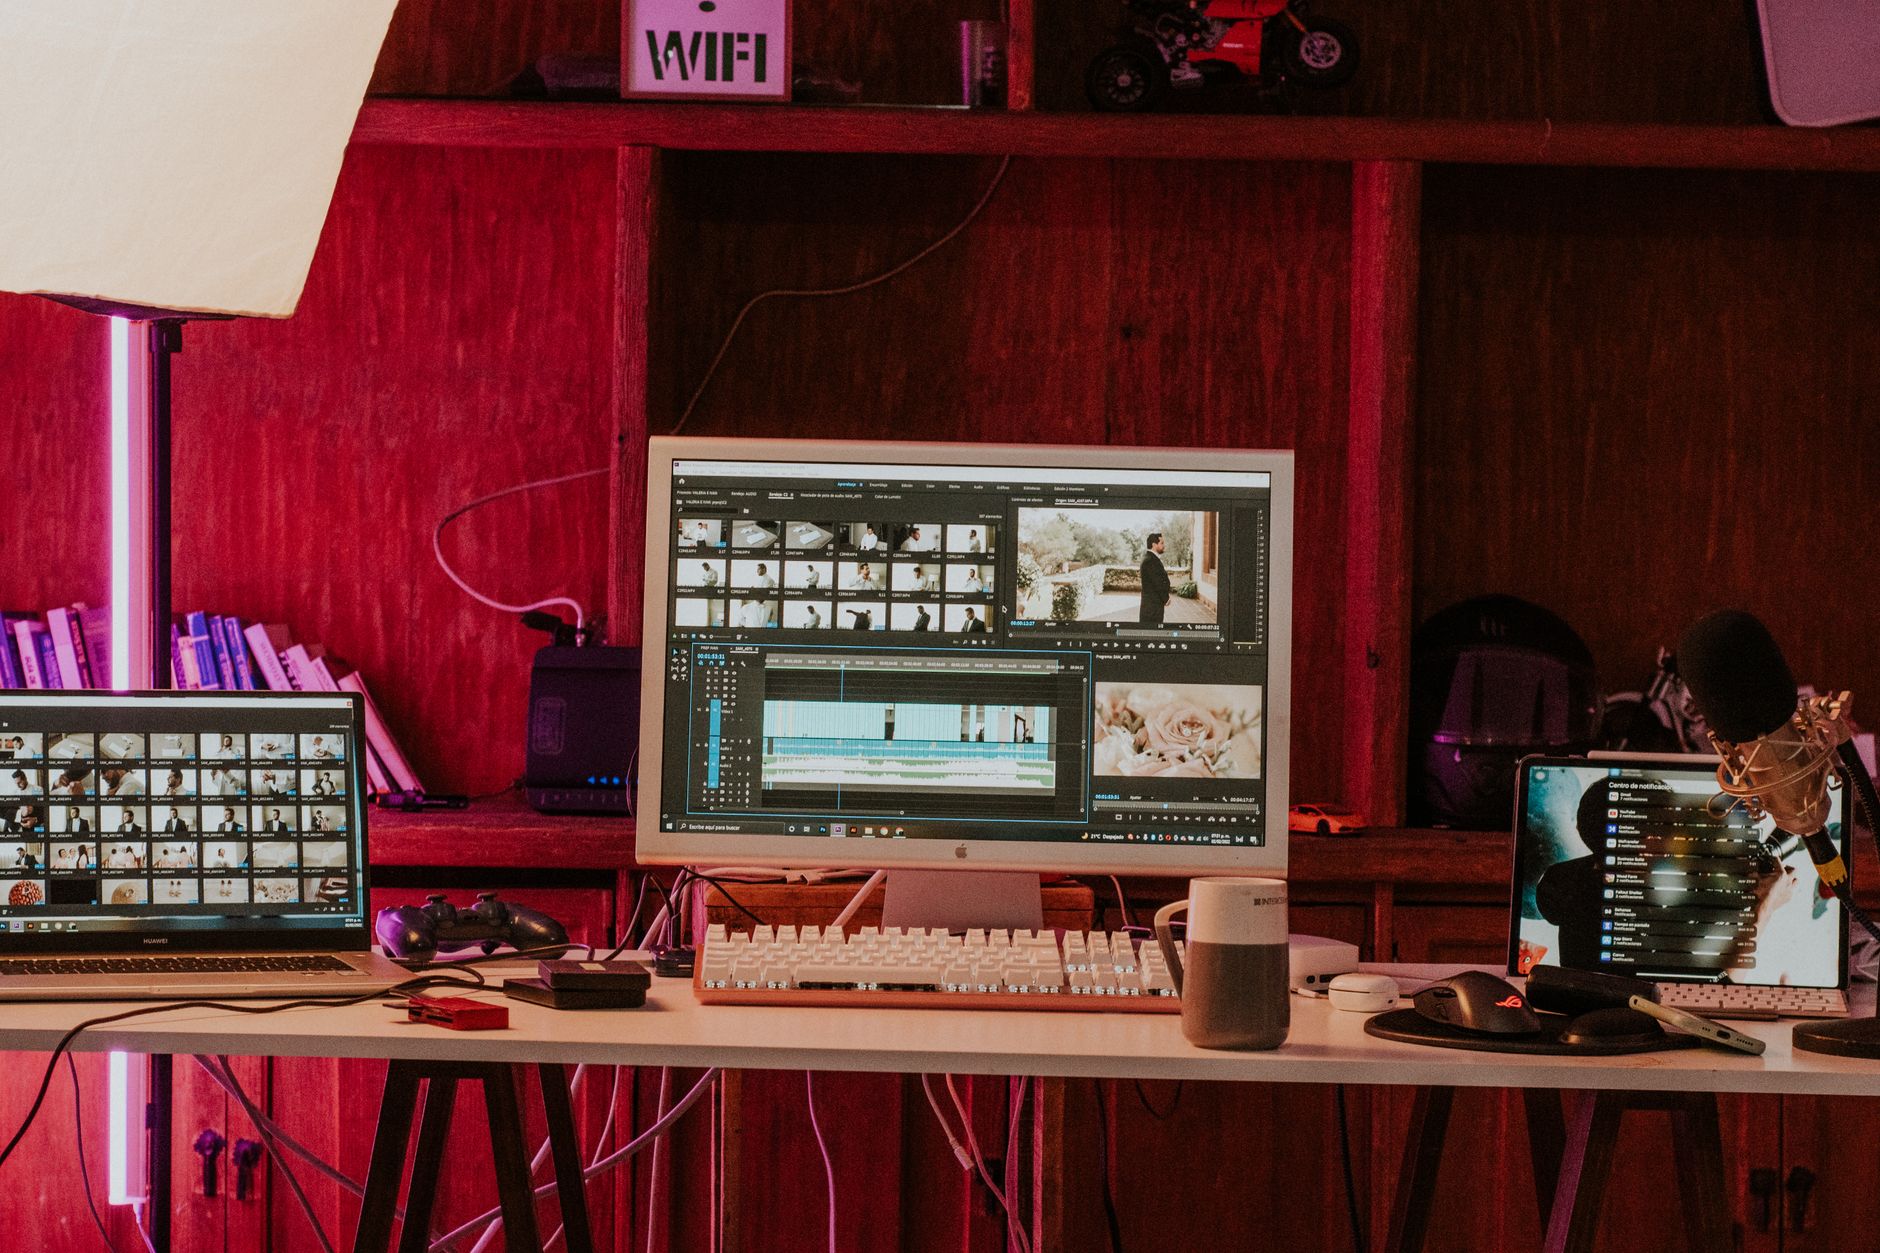
Video editing has become an essential skill for many, whether for creating content for social media, producing educational materials, or simply preserving memories. This comprehensive guide will delve into how to edit videos effectively, focusing on the various editing tools available and the quality settings needed for optimal results.
From basic cuts and transitions to advanced effects and color grading, understanding the video editing process will help enhance your projects significantly. You will learn about the software options you can choose from, how to navigate them, and best practices for achieving high-quality outputs.
How to Edit Videos?
To edit videos, you need to choose suitable software, understand the video editing process, and configure quality settings. Key steps include importing footage, arranging clips, applying effects, and exporting the final product.
Choosing the Right Video Editing Software
The first step in video editing is selecting an appropriate editing tool. There are various software options, catering to different skill levels and budgets. Here are some popular choices:
- Adobe Premiere Pro: A professional-grade, industry-standard tool that offers extensive features for editing, color correction, and audio mixing.
- Final Cut Pro X: A powerful option for Mac users, renowned for its intuitive interface and advanced features.
- DaVinci Resolve: Known for its exceptional color grading capabilities, this software provides a free version with a comprehensive set of tools.
- Filmora: A user-friendly option ideal for beginners, with various built-in effects and templates.
- iMovie: A basic yet effective tool for Mac users, perfect for simple edits and quick projects.
- Shotcut: A free, open-source editor that supports a wide range of formats and offers essential editing tools.
Factors to Consider When Choosing Software
When selecting video editing software, consider the following factors:
- Skill Level: Choose software that matches your editing experience—beginners may prefer simpler tools, while advanced users may want more complex options.
- Budget: Determine how much you’re willing to spend, as some software has one-time fees while others operate on a subscription model.
- Platform Compatibility: Ensure the software is compatible with your operating system (Windows, macOS, or Linux).
- Features and Tools: Look for essential features such as transitions, special effects, and audio mixing capabilities.
Getting Started with Video Editing
Once you have chosen your software, it’s time to start editing. Here’s a step-by-step guide to help you through the process:
- Import Your Footage: Open your video editing software and create a new project. Import the video files you wish to edit. Most software allows you to drag and drop files into the project.
- Organize Your Media: Create bins or folders for different media types (video clips, audio, images) to keep your project organized.
- Sequence Setup: Create a new sequence or timeline that matches the desired output resolution and frame rate (commonly 1920×1080 at 30 fps).
- Trim and Arrange Clips: Drag your clips to the timeline, and use cutting tools to trim unnecessary footage. Rearrange clips to create the desired flow of the video.
Editing Techniques to Enhance Your Video
Here are some fundamental editing techniques to improve the quality of your videos:
- Using Transitions: Apply transitions to create smooth changes between clips. Common transitions include fades, dissolves, and wipes.
- Adding Text and Titles: Incorporate text overlays for titles, captions, or annotations. Most software includes templates for easy use.
- Color Correction: Adjust the color balance, brightness, contrast, and saturation to enhance your video’s look. This step is crucial for achieving a professional feel.
- Audio Editing: Ensure clear audio by adjusting levels, removing background noise, and syncing audio with visuals. Adding background music can enhance viewer engagement.
- Effects and Filters: Apply effects sparingly to accentuate your video’s message. Use filters for creative expression while maintaining clarity.
Adjusting Quality Settings
Editing tools offer quality settings that directly impact the final output. Understanding these settings can be the difference between a polished video and a subpar one. Here’s what to consider:
Resolution
The resolution indicates how many pixels make up the video. Higher resolutions like 4K (3840×2160 pixels) provide greater detail but require more processing power and storage. Choose a resolution based on your project needs:
- SD (Standard Definition): 720×480 pixels—suitable for older devices.
- HD (High Definition): 1280×720 or 1920×1080 pixels—good for online content.
- 4K UHD (Ultra High Definition): 3840×2160 pixels—ideal for professional projects that demand high quality.
Frame Rate
The frame rate, expressed in frames per second (fps), determines how smooth the motion appears in your video. Common frame rates include:
- 24 fps: The cinematic standard, providing a film-like quality.
- 30 fps: Common for online videos and suitable for various content types.
- 60 fps: Offers smooth motion, ideal for sports or action-heavy footage.
Bit Rate
The bit rate affects video quality and file size. Higher bit rates yield better quality but result in larger files. Adjust the bit rate based on your platform requirements—most online platforms provide recommended settings for optimal playback.
Exporting Your Video
After editing your video, the next step is exporting it. This process converts your project into a viewable file format. Here are the key considerations:
- Selecting Output Format: Common formats for export include MP4, MOV, and AVI. MP4 is widely used because it maintains quality while minimizing file size.
- Choosing Resolution and Bit Rate: Match these settings with the desired output quality and platform specifications.
- Setting Destination: Choose a location on your device to save the exported file. Ensure it’s easy to find later.
- Initiating Export: Click the export button and wait for the software to process your video. The time taken depends on the project’s complexity and hardware capabilities.
Common Issues in Video Editing
Even seasoned editors encounter issues. Here are some common errors and potential solutions:
- Crashing Software: Ensure that your hardware meets the software requirements. Close unnecessary applications to free resources.
- Audio Sync Issues: Check for frame rate mismatches or consider detaching and realigning audio tracks manually.
- Export Failures: Verify that you have enough storage space and that the selected export settings are consistent with the project’s settings.
Tips for Effective Video Editing
To produce high-quality videos, consider these best practices:
- Create a Storyboard: Planning your video layout ahead of time helps maintain a coherent flow.
- Keep It Concise: Trim unnecessary footage to keep the audience engaged. Aim for brevity to convey your message effectively.
- Review Your Edits: Watch your video multiple times before finalizing it. Look for inconsistencies or errors that need correction.
- Seek Feedback: Before public viewing, share your video with trusted peers for constructive criticism.
Final Thoughts on Video Editing
Video editing can be an enjoyable and rewarding process when you are equipped with the right tools, techniques, and knowledge. By understanding the various editing software available and mastering the necessary techniques, you can produce engaging and professional-quality videos.
As a next step, consider exploring different video editing software to find the best fit for your projects. For those capturing live events or meetings, check out our guide on How to Use OBS Studio for seamless recording. Additionally, if you wish to record online meetings, learn how to get started by reading our tutorial on How to Record a Zoom Meeting.