
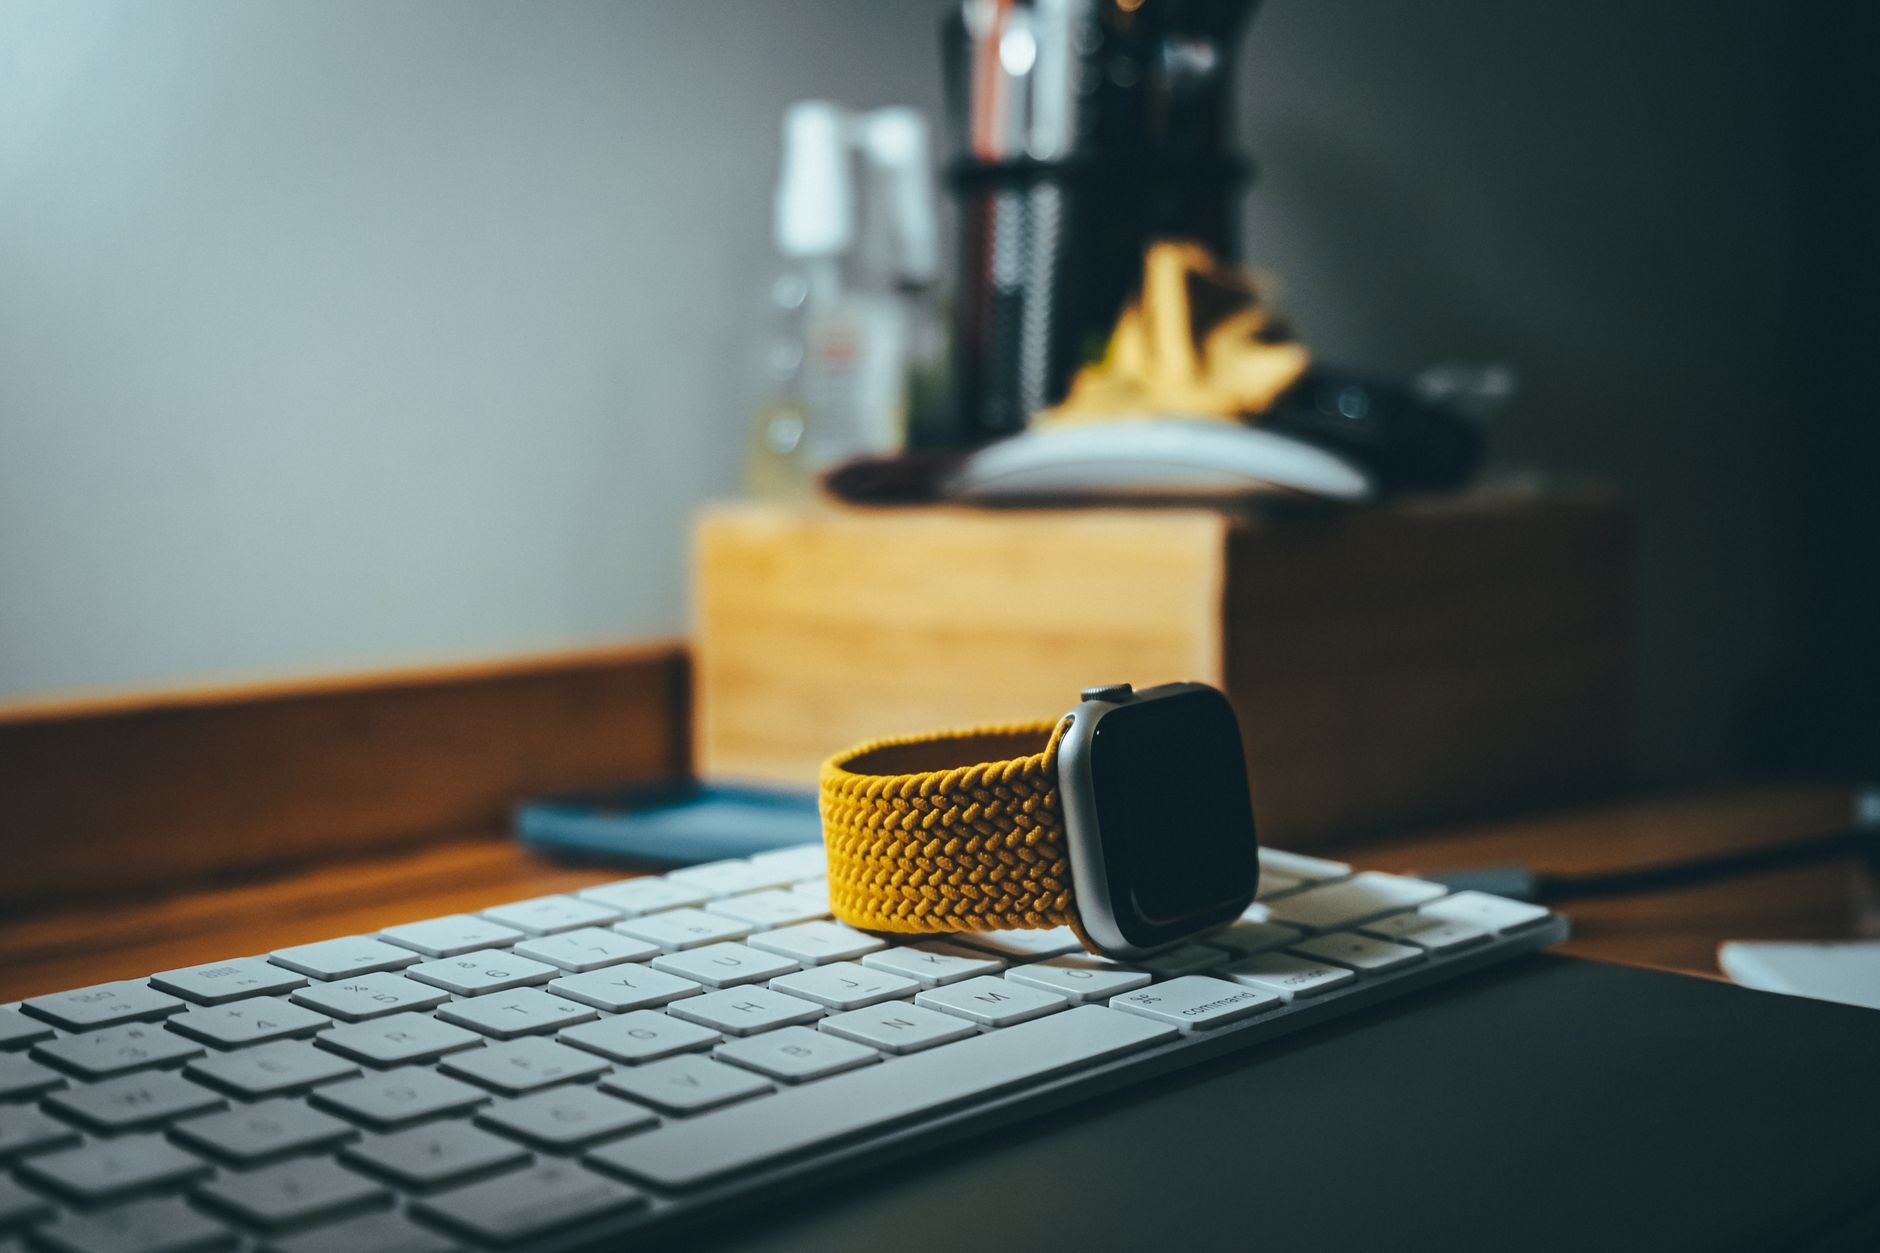
Changing the band on your Apple Watch can not only refresh its look but also enhance comfort and fit for various occasions. Whether you are transitioning from a workout band to a more stylish leather option or simply wish to clean or troubleshoot a band issue, this guide walks you through the process of removing and replacing your Apple Watch band effectively.
In this article, we will cover the steps needed for removing the Apple Watch band, how to ensure a proper fit, and sizing options available. With this knowledge, you will be able to change your Apple Watch band with confidence.
How to Change an Apple Watch Band?
Changing your Apple Watch band is straightforward and involves a few simple steps. You can expect to accomplish the following: safely remove your existing band, attach a new one, and adjust it for an optimal fit. Here’s how to do it in detail.
Prerequisites
Before proceeding, ensure you have the following:
- Your Apple Watch
- New Apple Watch band (if applicable)
- Clean, flat surface to work on
- Optional: A soft cloth to protect your watch screen
Steps to Remove the Apple Watch Band
The process for removing the Apple Watch band may vary slightly depending on the series of the watch you have. However, the following steps apply to most Apple Watch models.
- Prepare Your Watch: Ensure your Apple Watch is powered off to prevent accidental taps or actions during the band change. To power off, press and hold the side button until you see the power off slider, and then drag it to turn it off.
- Place the Watch on a Soft Surface: Lay your watch face down on a soft surface, such as a cloth or towel. This prevents scratches on the screen and ensures easier access to the band release buttons.
- Locate the Band Release Buttons: On the back of your Apple Watch, you will see two band release buttons. These are small, oval-shaped buttons located near the area where the band connects to the watch.
- Press the Release Button: Press and hold one of the release buttons. When you do, the attached band will disengage, and you will be able to slide it out of the slot.
- Slide the Band Out: While holding the release button, gently slide the band towards the end of the watch until it comes out completely. Repeat this process for the other side of the band.
Check for Proper Removal
Once both sides are detached, check to ensure that no pieces remain stuck in the watch slots. Your watch should now be band-free and ready for a new band.
Attaching a New Apple Watch Band
Now that you have removed the old band, let’s attach your new band. Follow these steps:
- Identify the Correct Orientation: Ensure that your new band is oriented correctly. The side that touches your wrist should have the band’s buckle or connection point facing upward into the watch.
- Slide the New Band In: Insert the end of the new band into the slot where the old band was removed. You should hear a click as the band locks into place. Make sure you are not inserting it upside down.
- Repeat for the Other Side: Use the same method to attach the other side of the band. Ensure both sides are securely attached before wearing your watch.
Verifying the Attachment
Once both ends of the new band are installed, gently pull on the band to make sure they are securely fastened. If they feel loose, detach and reattach them to ensure a proper fit.
Fit and Sizing for Your Apple Watch Band
Once you have changed your Apple Watch band, ensuring a proper fit is essential for comfort and usability. Here are factors to consider regarding band fit and sizing:
Choosing the Right Size
Apple offers a variety of band sizes to accommodate different wrist sizes. Each band is labeled with sizing information. Most band styles specify either small/medium or medium/large sizes. To determine which size is best for you:
- Measure Your Wrist: Utilize a soft measuring tape to measure your wrist’s circumference just above the wrist bone, or use a piece of string to wrap around your wrist and then measure the string’s length against a ruler.
- Consult Apple’s Sizing Guide: Visit Apple’s official website for their band size chart. This chart will provide recommended wrist sizes for the specific band you’re interested in.
- Consider Adjustability: Some bands, like the Sport Loop or Solo Loop, have a more flexible fit, while others, like the leather bands, may come in fixed sizes and might not be as adjustable.
Ensuring Comfort
A properly fitting band should feel snug but not too tight, allowing for some airflow. If your watch feels uncomfortable during daily activities or workouts, try adjusting it or even changing it to another style that may offer a better fit.
Common Issues When Changing Bands
While most users can easily switch bands, some may encounter typical issues. Below are a few common problems and solutions:
Band Not Locking
If your new band does not click into place or feels loose:
- Ensure you are inserting it the right way; the buckle or connector should be facing the correct direction.
- Inspect the band’s connectors for any debris or damage that may prevent proper locking.
- If the band appears damaged, consider replacing it with a new one.
Comfort Issues
If your new band feels uncomfortable:
- Try adjusting the fit or size, especially if the band has additional holes for adjustment.
- Consider switching to another style or material that may be more suitable for your lifestyle, such as switching from leather to silicone for workouts.
Difficulty in Removing the Band
If you’re having trouble pressing the release button:
- Ensure you are pressing firmly enough on the release button; it can sometimes be a bit stiff at first.
- If the button doesn’t respond, check for dirt or debris buildup. A gentle clean may help.
Alternative Options for Your Apple Watch Band
If you are looking for different styles or functionalities, Apple offers various bands for different occasions, such as:
- Sport Bands: Made from durable fluoroelastomer, these bands are ideal for workouts and daily wear due to their sweat resistance and easy cleanability.
- Leather Bands: Give a more elegant appearance for formal settings. They add a classy touch but may require more care.
- Metal Bands: These provide a strong, classic look and are typically adjustable, although they can be heavier compared to silicone bands.
- Specialty Bands: Apple and third-party vendors also offer personalized options like fabric, woven, and designer bands for a unique touch.
When selecting an alternative, assess your needs regarding style, durability, and comfort based on where and how often you intend to wear the watch.
Conclusion
Changing the band on your Apple Watch is a straightforward procedure that can significantly enhance your smartwatch experience. By following the steps outlined in this guide, you can effectively remove your old band, attach a new one, and ensure it fits comfortably on your wrist. With a variety of styles available to suit different tastes and uses, you can easily customize your Apple Watch to match any occasion.
For more detailed guides, check out how to change your Apple Watch band or consult our resource on how to reset your Apple Watch.