
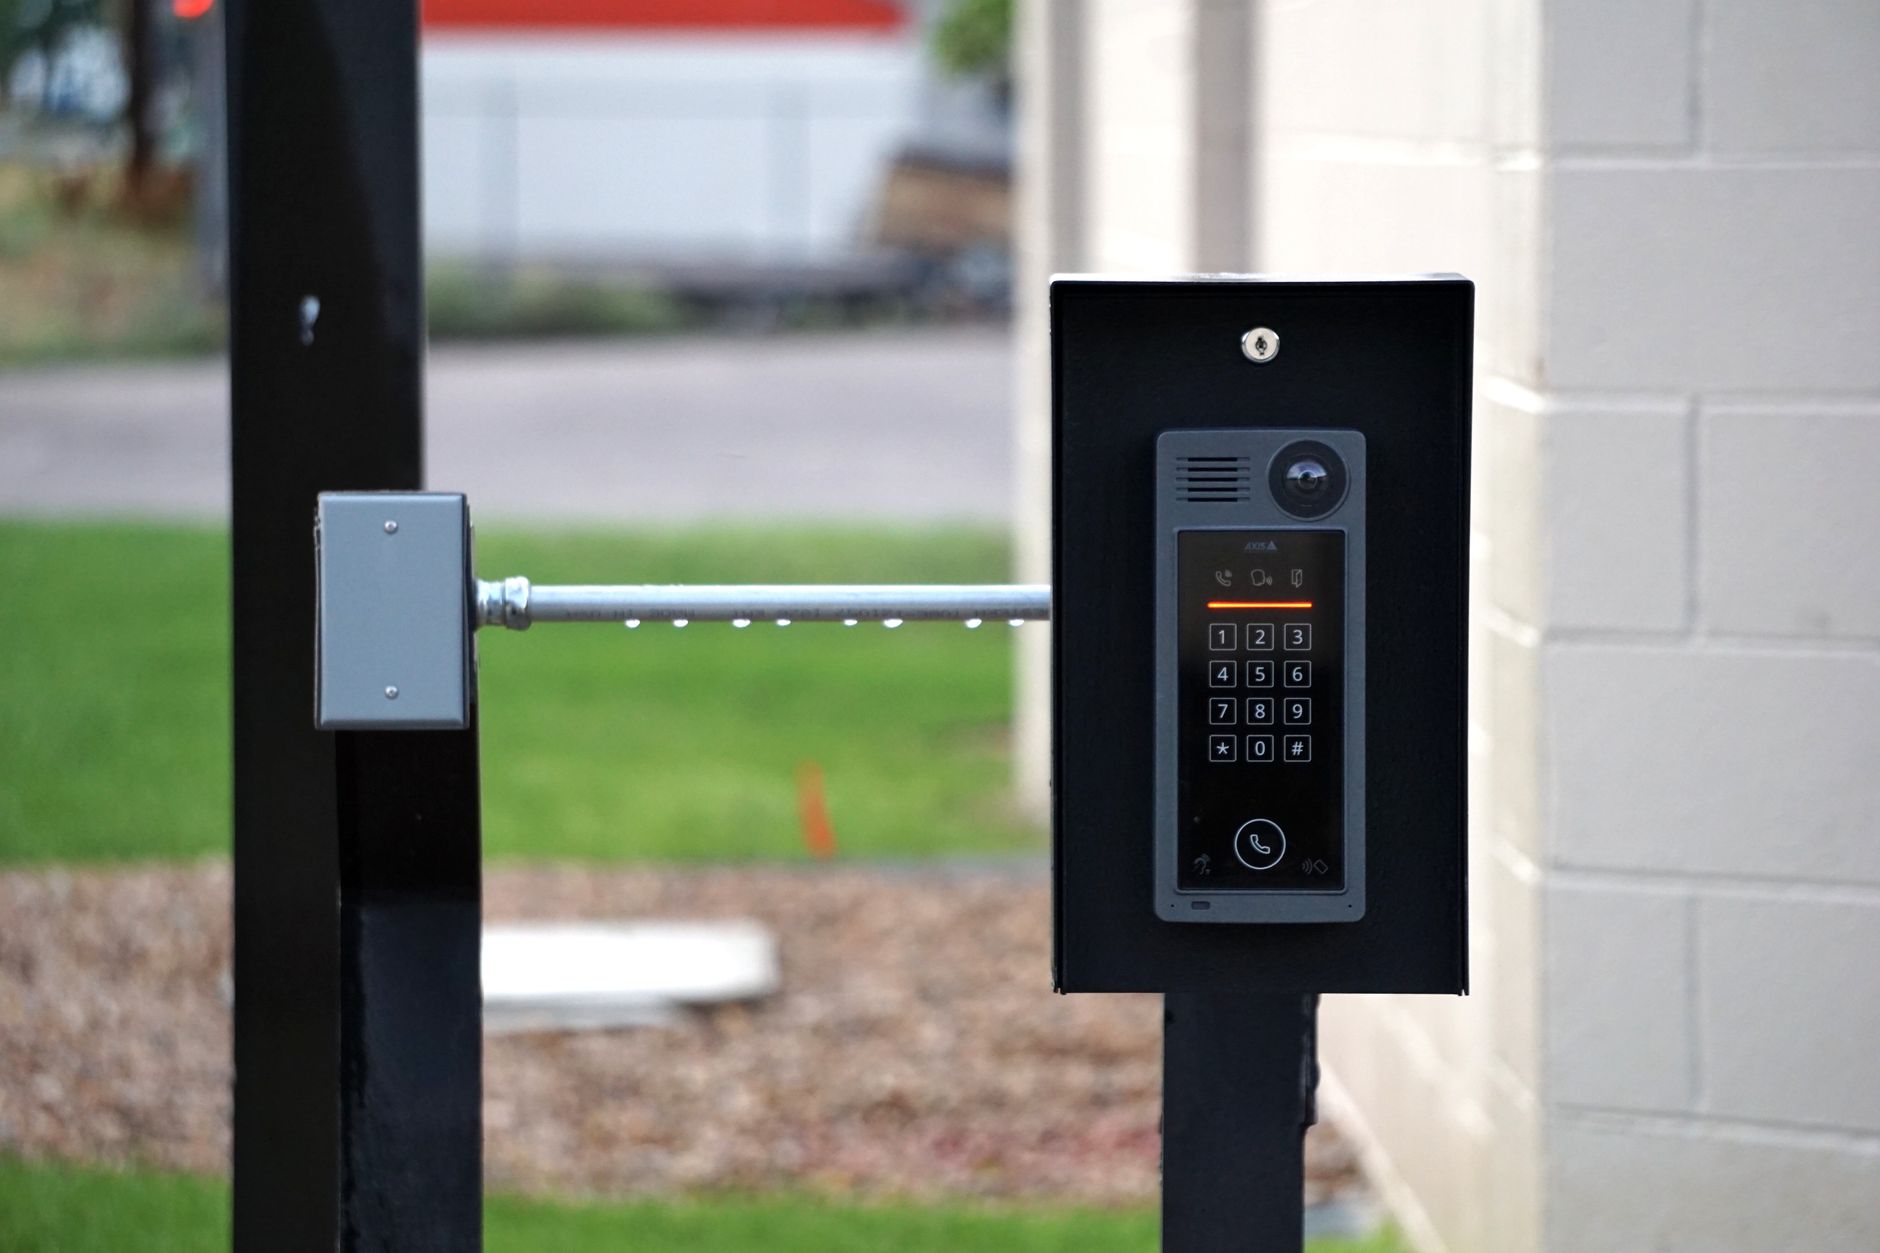
Installing a Ring Doorbell can significantly enhance your home security by providing real-time video footage and notifications directly to your smartphone. This guide will walk you through the requirements and step-by-step installation process, making it easy for you to set up your new device.
Whether you choose a wired or battery-operated model, the setup is straightforward as long as you have the right tools and information. Let’s dive into the essential requirements and installation steps for your Ring Doorbell.
How to Install Ring Doorbell?
To install a Ring Doorbell, you need to gather the appropriate tools, ensure compatibility with your home’s doorbell system, and follow detailed setup instructions. The process can be completed within an hour with basic tools and some technical understanding.
Requirements for Installing Ring Doorbell
Before you begin the installation process, it’s essential to have the necessary tools and understand the requirements for the Ring Doorbell you have purchased. Here’s what you need:
- Tools:
- Security screwdriver (included in the package)
- Drill (if you need to attach it to a hard surface)
- Level (for alignment)
- Wrench (for wiring connections)
- Wi-Fi Network: Ensure you have a stable Wi-Fi connection with a strong signal at your door.
- Ring App: Download the Ring app on your smartphone, available for both iOS and Android devices.
- Power Source: Determine whether your device is wired or battery-operated. For wired installations, verify compatibility with existing doorbell wiring.
- Smartphone or Tablet: Needed for setting up and configuring your Ring device.
Steps to Install Ring Doorbell
Here are the detailed steps to install your Ring Doorbell, following the correct sequence for a hassle-free setup:
Step 1: Prepare Your Tools and Choose Location
Begin by selecting an appropriate location for your Ring Doorbell. This should be a place where it can effectively capture video footage of visitors and monitor packages delivered to the door.
Ensure the device is positioned at a height of 4-5 feet from the ground for optimal performance.
Step 2: Turn Off Power
If you are installing a wired Ring Doorbell, turn off the power at your home’s circuit breaker for safety. This will prevent any electrical accidents during installation.
Step 3: Install the Mounting Bracket
Use a level to ensure your mounting bracket is straight. Follow these sub-steps:
- Align the mounting bracket with the selected surface and mark the screw holes.
- Drill holes at marked points, if necessary.
- Use anchors (included in the package) for additional support if you’re mounting the bracket on brick or stucco.
- Attach the mounting bracket using the provided screws. Ensure it is fixed securely to prevent any wobbling.
Step 4: Connect the Wires (For Wired Models)
If you are using a wired model, connect the existing doorbell wires to the screws on the back of the Ring Doorbell. Follow these guidelines:
- Connect the two wires to the terminal screws. There is no specific order; just ensure the connection is tight.
- Push any excess wiring back inside the wall, and ensure the wires do not interfere with the mounting bracket.
Step 5: Attach the Ring Doorbell to the Mounting Bracket
Carefully align your Ring Doorbell with the mounting bracket. Apply pressure to lock it in place, ensuring it is secured properly.
Step 6: Restore Power
If you are using a wired installation, return to the circuit breaker and turn the power back on. Watch for the LED light on the Ring Doorbell; it should light up to indicate successful power restoration.
Step 7: Set Up the Ring Doorbell Using the Mobile App
It’s now time to configure your new device through the Ring app:
- Open the Ring app on your smartphone or tablet.
- Sign in or create a Ring account if you do not have one.
- Click the “+” icon to add a new device, then select your Ring Doorbell model.
- Follow the in-app instructions to connect the device to your Wi-Fi. You will need to scan the QR code on the doorbell (the code is on the back of the device along with the setup guide).
Ensure you select a Wi-Fi network with a strong signal; you might want to create some distance between your router and doorbell to troubleshoot connectivity issues.
Step 8: Customize Settings
After connecting your Ring Doorbell to Wi-Fi:
- Set up motion alerts to receive notifications whenever someone approaches the door.
- Adjust your device’s settings to customize video quality, notifications, and privacy modes according to your preferences.
Step 9: Test the Doorbell
Once the setup is complete, press the doorbell button to test functionality:
- Check if you receive a notification on your smartphone.
- Ensure you can view the live video feed and communicate through the two-way audio feature.
Step 10: Finalize Installation
If everything is working correctly, ensure the wires are tucked away neatly and complete any additional installations, such as doorbell chimes or connecting to smart displays.
Troubleshooting Common Issues
Even with careful installation, issues can arise. Here are some common problems and their solutions:
Wi-Fi Connectivity Issues
If your Ring Doorbell cannot connect to your Wi-Fi, consider these fixes:
- Check the distance from the Wi-Fi router; consider a Wi-Fi extender if the signal is weak.
- Ensure no barriers exist (walls, metal surfaces) causing interference.
Battery Issues (for battery-operated models)
If your Ring Doorbell doesn’t receive power, follow these steps:
- Confirm the battery is installed properly.
- Charge the battery using a USB charging cable until it’s fully charged.
App Issues
If you encounter problems with the Ring app:
- Check for app updates and install the latest version from your app store.
- Restart your smartphone and retry the setup process.
Video Quality Issues
If you experience poor video quality or choppy feeds:
- Adjust the video settings within the app for optimal performance.
- Ensure your Wi-Fi connection is stable and strong.
Conclusion
Installing a Ring Doorbell can dramatically improve your home security and grant you greater peace of mind. By following the steps outlined above, you should be able to complete the installation with ease.
Before finalizing your installation, remember to troubleshoot any issues you encounter and optimize settings for the best performance. Once your Ring Doorbell is operational, enjoy enhanced safety and convenience as it keeps you connected to your home.
For more information on setting up your smart home, check out our guides on setting up a router and resetting network settings.