
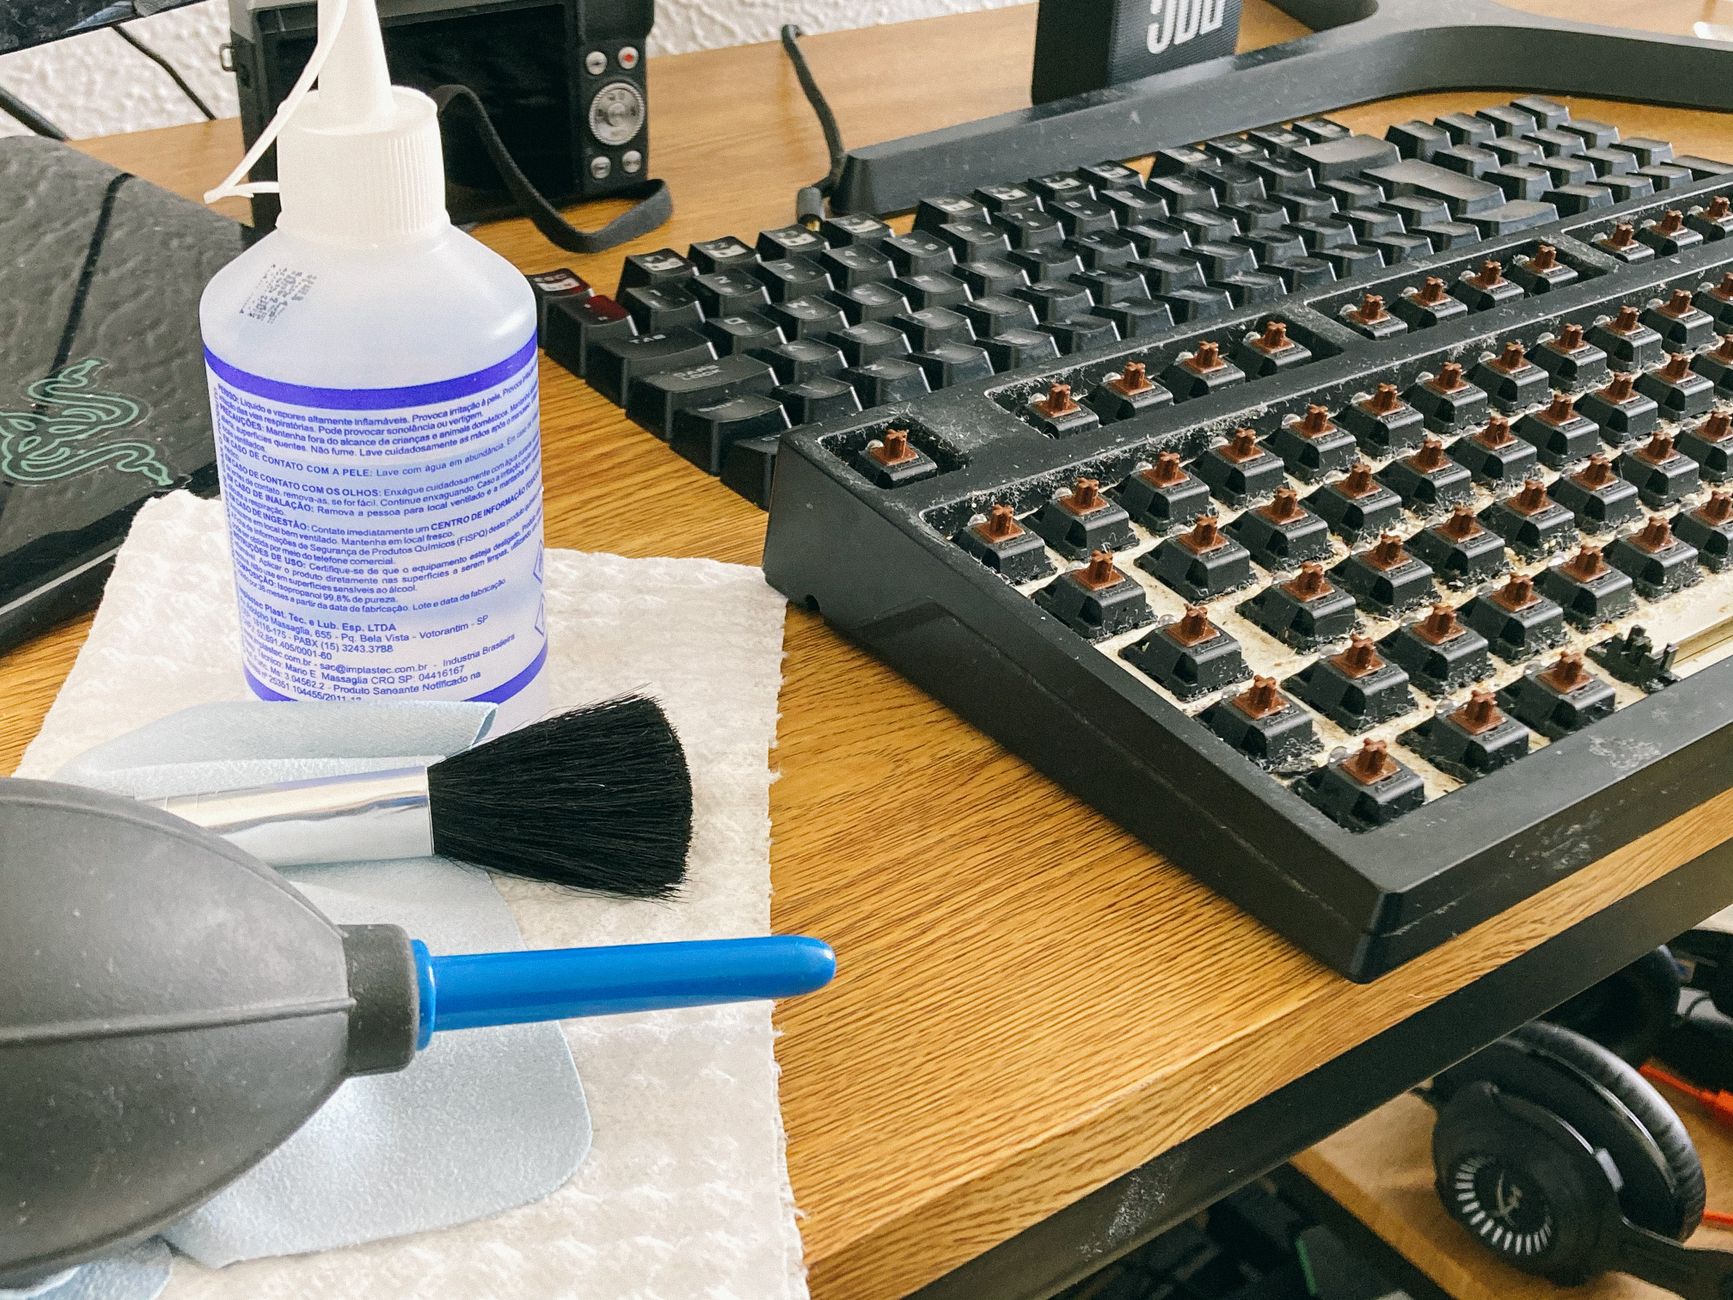
Keeping your keyboard clean is essential for both hygiene and device longevity. Over time, dust, crumbs, and other debris accumulate between and under the keys, which can hinder performance and pose health risks. This comprehensive guide will provide you with safe tools and effective cleaning steps to ensure your keyboard remains in top condition.
Whether you have a desktop keyboard, a laptop, or a laptop with removable keys, this article will cover various methods to clean your keyboard keys. You will learn about the tools needed, step-by-step cleaning processes, and tips for maintaining your keyboard’s cleanliness to extend its lifespan.
How to Clean Keyboard Keys?
To clean keyboard keys, you need to gather appropriate tools and follow specific steps that are suitable for your keyboard type. Regular cleaning can help prevent malfunctions, improve hygiene, and ensure a better typing experience.
Tools Needed for Cleaning
Before diving into the cleaning process, you’ll need to gather a few essential tools. Here’s a list of items you should have:
- Compressed air canister
- Microfiber cloth
- Isopropyl alcohol (preferably 70% or higher)
- Cotton swabs or soft-bristled toothbrush
- Warm soapy water (optional for removable keys)
- Small bowl (for soaking keys if removable)
- Tweezers or keycap puller if needed (for mechanical keyboards)
Preparation Steps
Ensure you have a clear, well-lit workspace before you begin the cleaning process. Follow these preparation steps:
- Turn off your computer or unplug your keyboard to avoid any accidental keypresses.
- If using a laptop, ensure it’s shut down and disconnected from any power source.
- Remove any detachable parts, such as wireless keyboards or mouse devices, for convenience.
- Carefully read the manufacturer’s instructions if available, especially for removable key keyboards.
Cleaning Desktop Keyboards
Desktop keyboards can accumulate more dust and debris due to their standing position and larger surface area. Here’s how to clean them effectively:
Step 1: Remove Loose Debris
Start by using the compressed air canister to blow out any loose crumbs or debris between the keys.
- Hold the canister upright and spray between the rows of keys at a slight angle.
- Move through the entire keyboard to ensure all loose particles are removed.
Step 2: Wipe Down the Surface
Next, use the microfiber cloth lightly dampened with isopropyl alcohol to clean the key surfaces.
- Ensure the cloth is not dripping wet; it should be just damp enough to clean.
- Wipe each key individually and also clean the surrounding surfaces.
Step 3: Clean Around the Keys
Utilize cotton swabs or a soft-bristled toothbrush dipped in a small amount of isopropyl alcohol for deeper cleaning.
- Gently scrub around each key to remove any sticky residue or grime.
- Be careful not to let any liquid seep under the keys.
Step 4: Drying Time
Let the keyboard dry completely before plugging it back in or turning it on. This helps avoid any electrical issues.
Cleaning Laptop Keyboards
Cleaning laptop keyboards requires a slightly different approach because of their integrated design.
Step 1: Dust Removal
Use the compressed air to flush out dust and debris, focusing on airflow between the keys.
- Be cautious of your angle to avoid blowing debris further into the keyboard.
- Repeat the process a few times if necessary.
Step 2: Wipe Keys
As with desktop keyboards, utilize a microfiber cloth with isopropyl alcohol to clean the key surfaces.
- Ensure that the cloth is just damp, not soaked.
- Wipe each key gently and do not push too hard to avoid damaging any components.
Step 3: Detail Cleaning
For stubborn areas, use a cotton swab or a soft-bristled brush for precision cleaning.
- Apply the isopropyl alcohol lightly for any sticky keys or gunk built-up.
- Make sure to avoid excess moisture that could seep through.
Cleaning Removable Keys (Mechanical Keyboards)
If your keyboard has removable keycaps, you can achieve a more thorough cleaning. Follow these steps:
Step 1: Remove Keycaps
Use a keycap puller or tweezers to carefully remove each keycap from the keyboard.
- Work slowly to avoid breaking any key components.
- Make sure to keep track of the keycap positions for reassembly later.
Step 2: Soak Keycaps (if necessary)
If the keycaps are particularly dirty, soak them in warm soapy water for about 30 minutes. Do not soak the keyboard itself.
- After soaking, scrub each keycap gently with a soft brush to remove grime.
- Rinse the keycaps under lukewarm water and dry them thoroughly with a microfiber cloth.
Step 3: Clean the Keyboard Base
While the keycaps are soaking, clean the keyboard base with compressed air and a cloth dampened with isopropyl alcohol.
- Ensure the base is dry before reattaching the keycaps.
Step 4: Reassemble Keycaps
Once everything is dry, reattach the keycaps by pressing them back into place until they click securely.
Maintaining Your Keyboard’s Cleanliness
Regular maintenance can significantly prolong the cleanliness and lifespan of your keyboard. Here are practical tips to keep it in top shape:
- Clean your keyboard every week or biweekly, depending on usage.
- Use keyboard covers to shield from dust and spills.
- Maintain clean hands while using your keyboard to minimize dirt and oils.
- Avoid eating or drinking near your keyboard to prevent accidental spills.
- Consider using a UV disinfecting light if you want an extra germ-fighting measure.
Troubleshooting Common Keyboard Issues
Sometimes, keyboards can present issues even after cleaning. Here’s a quick troubleshooting guide:
Sticky Keys
If keys are still sticky after cleaning, the problem may involve residue left behind or a mechanical issue.
- Re-clean the affected key using isopropyl alcohol.
- If the keycap is still unresponsive, consider removing it and applying a small amount of lubricant to the switch underneath.
Unresponsive Keys
If certain keys stop functioning entirely, a deeper problem might be present.
- First, check the connection of your keyboard and restart your computer.
- If that doesn’t work, test the keyboard on another computer to rule out software issues.
Debris Under Keys
Occasionally, debris may get lodged under keys, causing issues without removal.
- Use compressed air to dislodge any stuck particles.
- If necessary, remove keycaps to access trapped debris.
Additional Safety Precautions
When cleaning your keyboard, it’s vital to take specific safety measures to avoid damage:
- Never use water directly on the keyboard; always use a damp cloth.
- Do not let liquids pool around or inside electrical components.
- Always allow enough time for the keyboard to dry before turning it on again.
Conclusion
With regular cleaning and the right approach, you can maintain the functionality and hygiene of your keyboard. By following the steps outlined in this guide, ensure that your keyboard stays debris-free and performs optimally. A clean keyboard not only enhances your typing experience but also contributes to a healthier workspace.
If you’re interested in maintaining other aspects of your tech, consider checking out tutorials on cleaning your laptop screen and cleaning your AirPods. Keeping all your tech devices clean will go a long way in ensuring they last and function effectively.