
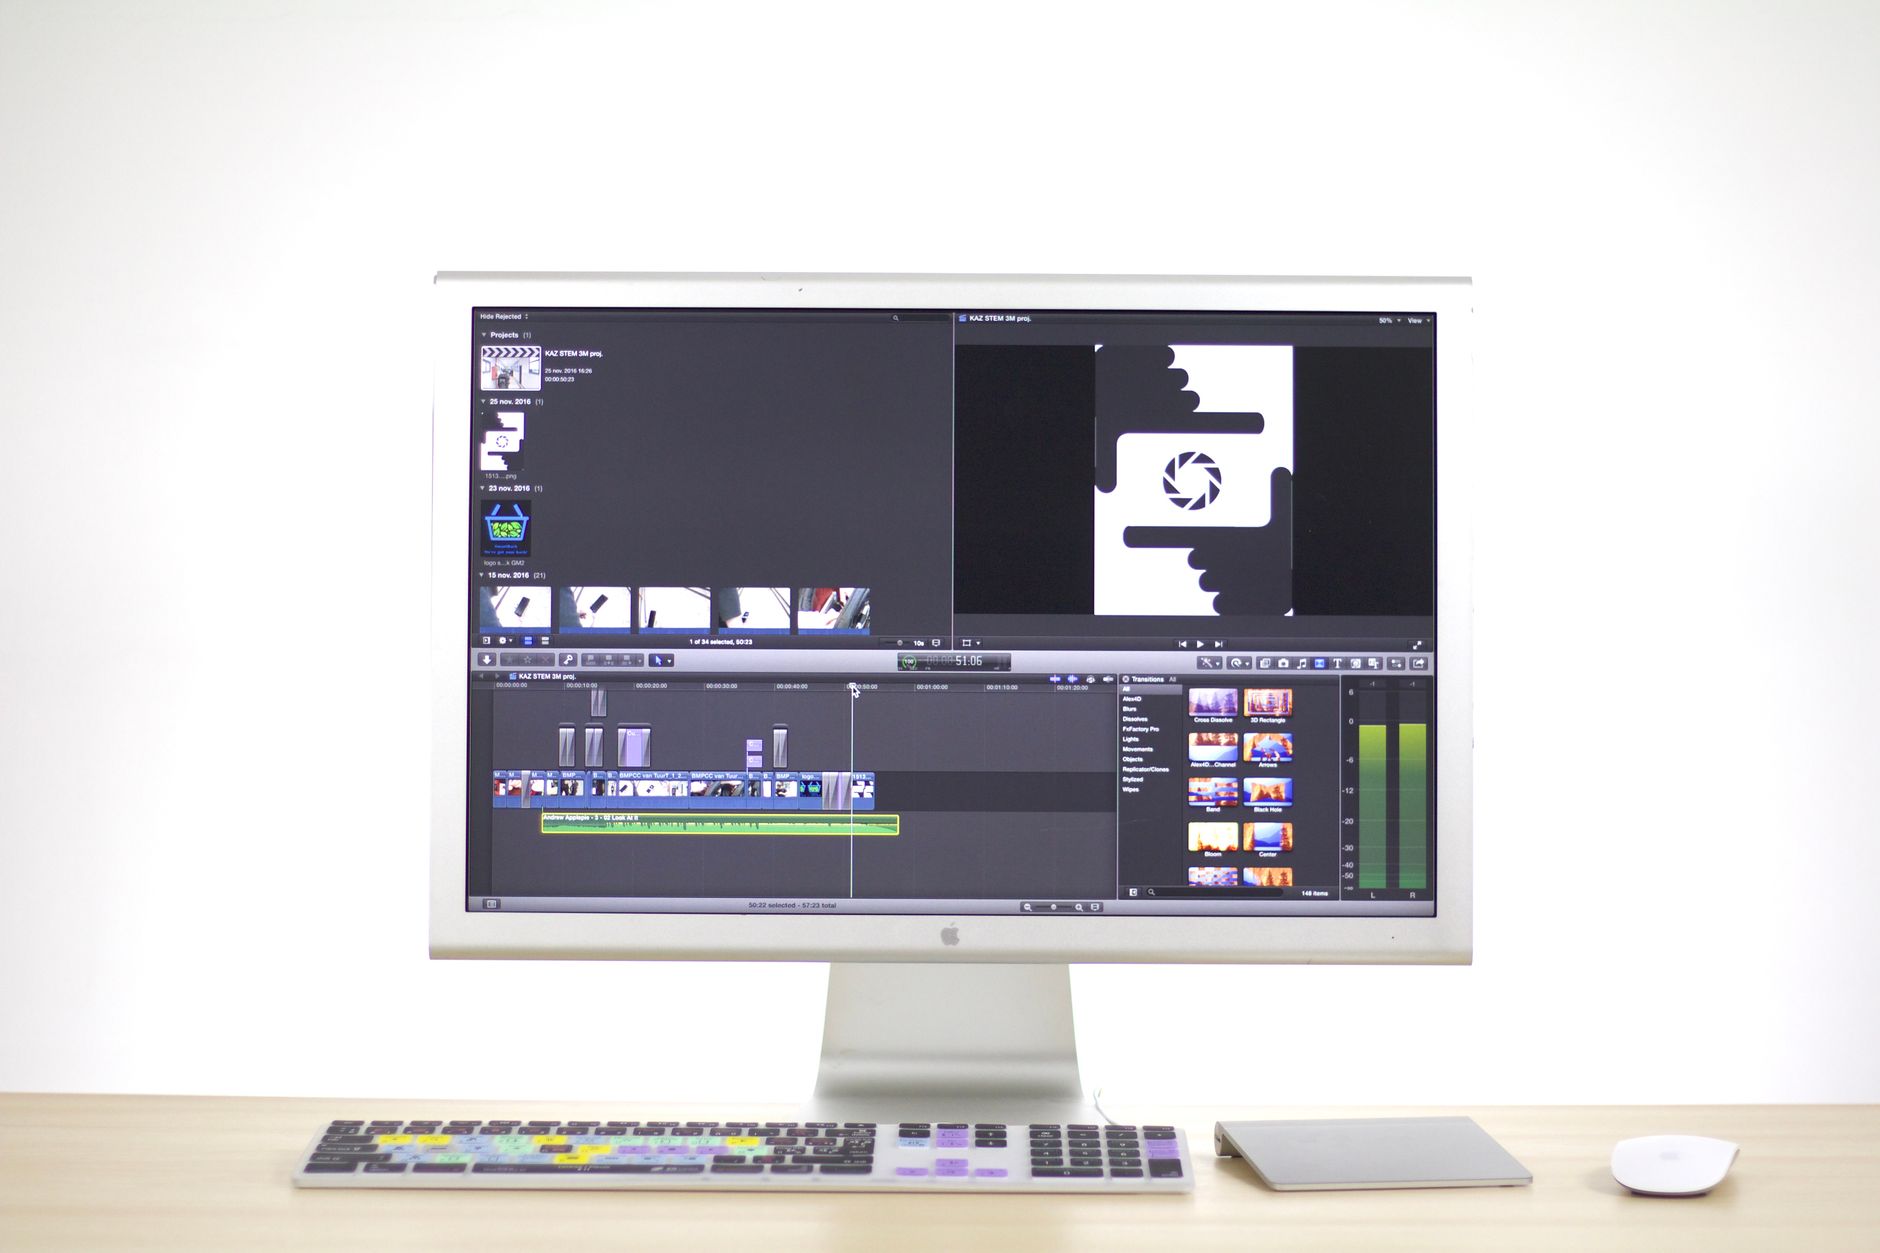
Taking a screenshot on a computer can be a valuable skill for capturing important information, sharing visual content, or documenting software issues. Whether you’re using a Windows, Mac, or Chromebook system, understanding the various methods for taking screenshots can enhance your productivity and communication.
This guide will walk you through the different methods, tools, and keyboard shortcuts available to take screenshots on your computer. You’ll learn specific techniques for each platform, as well as tips for managing and editing your screenshots effectively.
How Do You Take A Screenshot On A Computer?
To take a screenshot on a computer, you can use built-in keyboard shortcuts or dedicated tools depending on your operating system. For example, on Windows, you can press the Print Screen key, while on Mac, you can use combinations like Command + Shift + 3, or utilize the Snipping Tool for more options. Each method has unique features that can aid in capturing the desired information.
Screenshot Methods for Different Operating Systems
Taking a Screenshot on Windows
Windows offers several ways to take screenshots. Here are the most commonly used methods:
- Print Screen (PrtScn): Pressing this key captures the entire screen and copies it to your clipboard. You can then paste it into an application like Microsoft Paint or Word.
- Alt + Print Screen: This combination captures only the currently active window and copies it to the clipboard.
- Windows + Print Screen: This shortcut captures the entire screen and saves it as a file in your
Picturesfolder underScreenshots. - Snipping Tool: This built-in app allows you to select a specific area or window to capture. You can find it by searching for “Snipping Tool” in the Start menu.
- Snip & Sketch: Similar to Snipping Tool, this app allows for more flexible screenshot options and editing. Access it by searching “Snip & Sketch” in the Start menu or using the shortcut
Windows + Shift + S.
Taking a Screenshot on Mac
Mac systems also provide various methods for taking screenshots. Here are the most effective techniques:
- Command + Shift + 3: This combination captures the entire screen and saves it directly to your desktop.
- Command + Shift + 4: This lets you select a specific area of the screen to capture. After pressing the keys, drag to select the desired area.
- Command + Shift + 4 + Space: Use this combination to capture a single window. After pressing the keys, hover over the desired window and click to capture it.
- Preview App: Open the Preview application, navigate to
Fileand selectTake Screenshot. You can choose to capture from selection, window, or the entire screen.
Taking a Screenshot on Chromebook
On Chromebooks, the screenshot process is straightforward with keyboard shortcuts:
- Ctrl + Show Windows: This captures the entire screen. The Show Windows key looks like a rectangle with two lines next to it and can be typically found in the top row.
- Ctrl + Shift + Show Windows: This enables you to select a specific area to capture.
- Using the Stylus: If you have a touch screen and a stylus, you can tap the stylus icon and select the screenshot option in the menu that appears.
Using Third-Party Screenshot Tools
While built-in features work well for many users, third-party applications can provide enhanced functionality. Here are some popular screenshot tools:
- Greenshot: A lightweight, open-source tool that is customizable and allows for easy annotation.
- Snagit: A paid software that offers advanced features for capturing images and video, as well as robust editing capabilities.
- Lightshot: A simple and intuitive tool that allows you to quickly take screenshots and share them online or via links.
- ShareX: An open-source screenshot tool that provides a wide range of capturing options and editing features.
Editing and Managing Screenshots
Once you’ve taken a screenshot, you may want to edit or organize it. Here are some tips on how to manage your screenshots effectively:
Editing Tools
There are many ways to edit your screenshots, whether using built-in tools or third-party software:
- Microsoft Paint: After taking a screenshot using Print Screen, you can paste it into Paint for basic editing features like cropping, drawing, and adding text.
- Preview on Mac: The Preview app lets you annotate, add shapes, and crop images easily.
- Third-party Editors: Use programs like GIMP or Adobe Photoshop for advanced editing options.
Organizing Your Screenshots
Keeping your screenshots organized can save you time. Here are some strategies:
- Designate a specific folder for screenshots to keep them separate from other files.
- Use consistent naming conventions, incorporating dates or keywords to make searching easier.
- Regularly review and delete unnecessary screenshots to free up space and reduce clutter.
Troubleshooting Common Screenshot Issues
Sometimes, users might encounter problems while taking screenshots. Below are some common issues and their solutions:
Screen Captures Not Working
If taking screenshots fails to work, consider the following:
- Check Keyboard Functionality: Ensure that your keyboard keys, particularly those used in shortcuts, are functioning correctly.
- Close Background Applications: Certain applications may interfere with screenshot functionality. Close any potentially conflicting software.
- Update Your OS: An outdated operating system may have bugs that need fixing. Check for updates and install them.
Unwanted Screen Captures
If you’re receiving unwanted captures (like captures of notifications), consider these options:
- Turn on “Do Not Disturb” features to prevent notifications during your captures.
- Familiarize yourself with keyboard shortcuts to ensure you’re capturing only what you intend to.
Frequently Asked Questions
Can I take a screenshot without a keyboard?
Yes, many operating systems have built-in screenshot tools that can be accessed through menus. For example, on Mac you can use the Grab tool, and on Windows, the Snipping Tool is accessible through the Start menu.
Where do screenshots go once taken?
On Windows, screenshots are typically saved in the Pictures folder within a subfolder named Screenshots. On Mac, screenshots usually appear on the desktop unless set differently. Chromebook screenshots are saved in the Downloads folder.
Conclusion
Knowing how to take a screenshot on a computer is a fundamental skill that can enhance your workflow, whether you’re sharing information, documenting a task, or seeking help with technical issues. The methods outlined in this guide cater to various operating systems, ensuring you can capture what you need quickly and efficiently.
Now that you are equipped with the knowledge to take screenshots, consider practicing these techniques. You might also explore related tutorials, like how to screenshot on a Chromebook or learn how to take a screenshot on a PC for more detailed insights.