
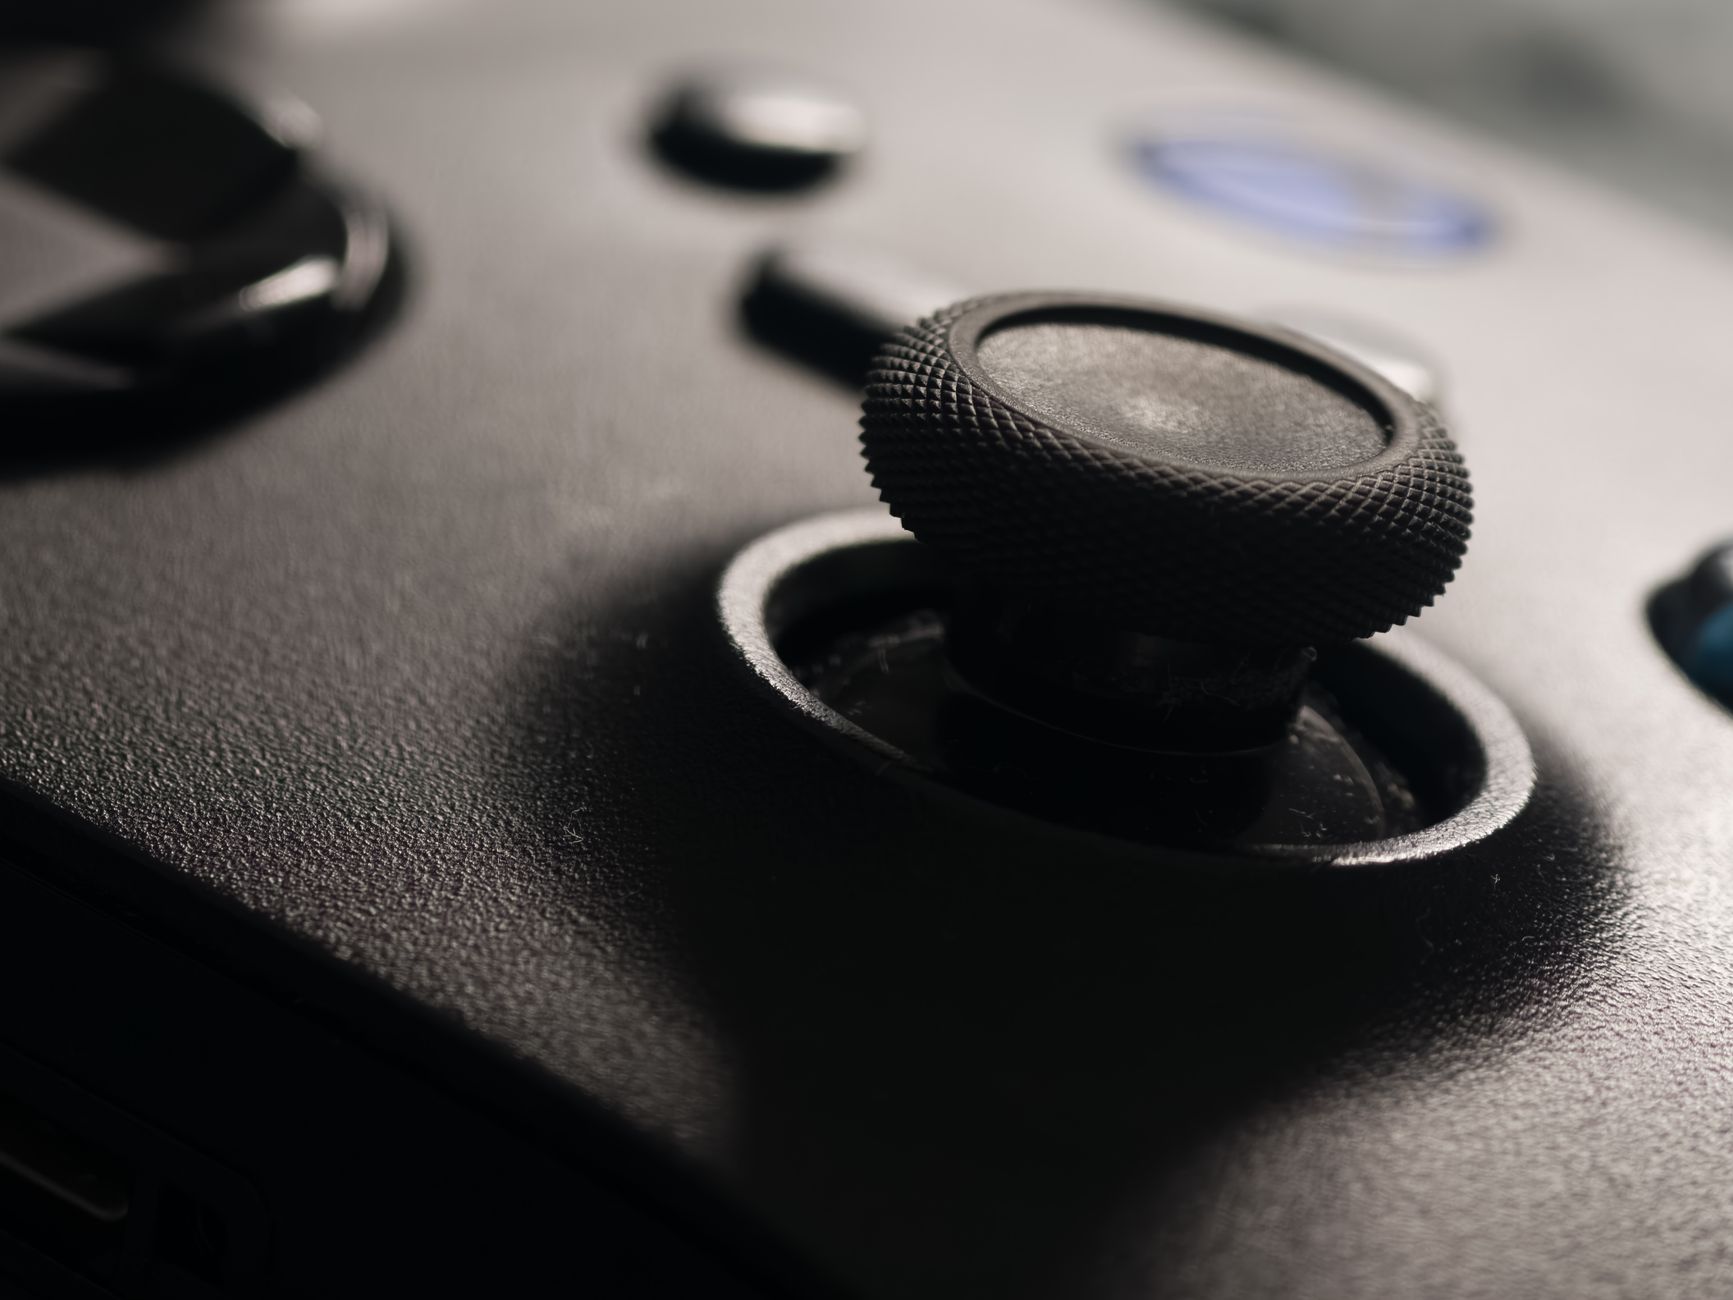
Stick drift is a common issue among gamers, often leading to frustration and hindered gaming experiences. It occurs when the analog stick on a controller fails to return to its neutral position, causing unwanted movements in games. Fortunately, there are several methods to diagnose and fix stick drift, whether through calibration adjustments or hardware repairs.
This article will provide practical guidance on how to fix stick drift for various gaming controllers, covering both software solutions and hardware repairs. You will learn to troubleshoot the issue, perform calibrations, and, if necessary, open up your controller for repairs.
How to Fix Stick Drift?
To fix stick drift, you can initially try software calibration and settings adjustments. If those methods do not work, you may need to disassemble the controller for hardware repairs and cleaning. Both approaches aim to restore normal functionality and enhance your gaming experience.
Understanding Stick Drift
Before diving into the solutions, it’s essential to understand what causes stick drift. Stick drift can be attributed to several factors:
- Wear and tear of the analog stick components.
- Accumulation of dust and debris inside the controller.
- Calibration issues in the console or gaming device.
- Software glitches or outdated firmware.
By identifying the underlying cause, you can choose the most effective approach to remedy the situation.
Prerequisites for Fixing Stick Drift
Before you start, ensure you have the following:
- Compatible controller (e.g., Xbox, PlayStation, Nintendo Switch).
- Access to the gaming console or PC.
- Basic tools for hardware repairs (screwdrivers, cleaning supplies). Optional, depending on the method you choose.
- Patience and careful handling to avoid causing further damage.
Calibration Methods for Fixing Stick Drift
Calibrating on Xbox Consoles
- Connect your controller to the Xbox console.
- Press the Xbox button to open the guide.
- Select “System,” then “Settings.”
- Go to “Devices & connections,” then “Accessories.”
- Select your controller and choose “Configure.”
- In the configuration screen, look for the “Calibrate” option to follow the on-screen instructions.
- Save the changes once calibration is complete.
Checking if the stick drift has been resolved can be done by navigating your menu or entering a game.
Calibrating on PlayStation Consoles
- Connect your controller to the PS console.
- Open the “Settings” from the main menu.
- Select “Devices” and then choose “Controllers.”
- Look for the “Adjust Analog Stick Sensitivity” or “Calibrate” option.
- Follow the prompts to proceed with calibration.
- Test the controller in-game after calibration is complete.
Calibrating on PC
- Open “Settings” on your Windows PC.
- Go to “Devices” and select “Bluetooth & other devices.”
- Ensure your controller is connected, then click on “Devices & Printers.”
- Right-click on your controller and select “Game controller settings.”
- Choose your controller and click “Properties.”
- Select the “Settings” tab and then “Calibrate.”
- Follow the calibration wizard to adjust the stick settings.
Test your controller afterward to confirm if the stick drift issue has improved.
Advanced Software Solutions
If basic calibration does not resolve the issue, you might need to consider using specialized software. Third-party applications can often provide deeper control over controller functions. Here are some popular options:
- Steam: If you are using your controller on Steam, you can customize its settings through Steam’s Controller Configuration tool. This includes dead zone adjustments for stick inputs, which can mitigate stick drift.
- DS4Windows: This application works for PlayStation controllers on Windows. It offers extensive configuration options that include stick dead zones and sensitivity adjustments.
- InputMapper: Similar to DS4Windows, InputMapper allows tailored configurations for various controllers, helping with dead zones and stick inputs.
After adjusting settings through any of these applications, remember to save the changes and test the controller once again.
Physical Repairs for Fixing Stick Drift
If calibration and software adjustments do not resolve the stick drift, opening the controller may be the solution. Here are the steps to clean and repair the analog sticks.
Tools You Will Need
- Torx screwdriver (specific to your controller model)
- Flathead screwdriver
- Cotton swabs
- Isopropyl alcohol or electronics cleaner
- Compressed air can (optional)
Preparing for Disassembly
Before you begin, ensure the controller is powered off and disconnected from any device.
Disassembling the Controller
- Use a Torx screwdriver to remove screws securing the controller casing. The number and location of screws vary by controller.
- Carefully pry apart the casing with a flathead screwdriver or a guitar pick, ensuring not to damage any clips.
- Note how the controller parts are connected, especially wires and components, for easier reassembly later.
Cleaning the Analog Sticks
- Once inside, locate the analog stick component. Depending on your controller, you may see a plastic cover over the stick.
- Using cotton swabs dipped in isopropyl alcohol, carefully clean around the base of the stick and remove any grime.
- If you have compressed air, use it to blow out any debris trapped inside.
Inspecting and Replacing Parts
If cleaning does not solve the stick drift, inspect the potentiometers, which are responsible for the stick’s movement detection.
- If you notice any damage or wear, you may need to replace the analog stick module. Replacement parts are available online.
- To replace, carefully detach the old module and solder or clip in the new one, depending on your controller’s design.
Reassembly
- Once the cleaning or replacement is complete, reassemble the controller in the reverse order of disassembly.
- Make sure each component is securely fitted back into place.
- Replace all screws snugly but avoid over-tightening.
Common Issues and Troubleshooting
As you work through fixing stick drift, you may encounter additional issues. Here are some common problems and their likely causes:
- Controller Not Responding Correctly: Ensure all internal connections are secure after reassembly. A loose wire can cause erratic behavior.
- Still Experiencing Stick Drift: If drift persists after attempts to fix it, the problem might be hardware-based. Check for mechanical resistance in the analog stick itself.
- Difficulty Reassembling: Take your time during reassembly. Refer to online guides or videos specific to your controller model for assistance.
Preventing Future Stick Drift
After addressing stick drift, consider employing these practices to avoid future issues:
- Keep your controller clean by regularly wiping off dust and debris.
- Avoid eating or drinking near your gaming setup to prevent particles from entering the controller.
- Store your controller in a protective case when not in use.
- Monitor your gaming habits; excessive pressure on the analog sticks can lead to faster wear.
Conclusion
Stick drift can be a frustrating challenge for gamers, but with proper calibration techniques and hardware knowledge, it can often be fixed. Start with software adjustments before considering hardware repairs. Regular maintenance can also help prevent the issue from recurring.
For further assistance related to controller issues, check out our tutorials on fixing stick drift for PS5 controllers and resetting Firestick remotes. With the right care and attention, you can extend the life of your gaming accessories and enjoy uninterrupted gaming experiences.