
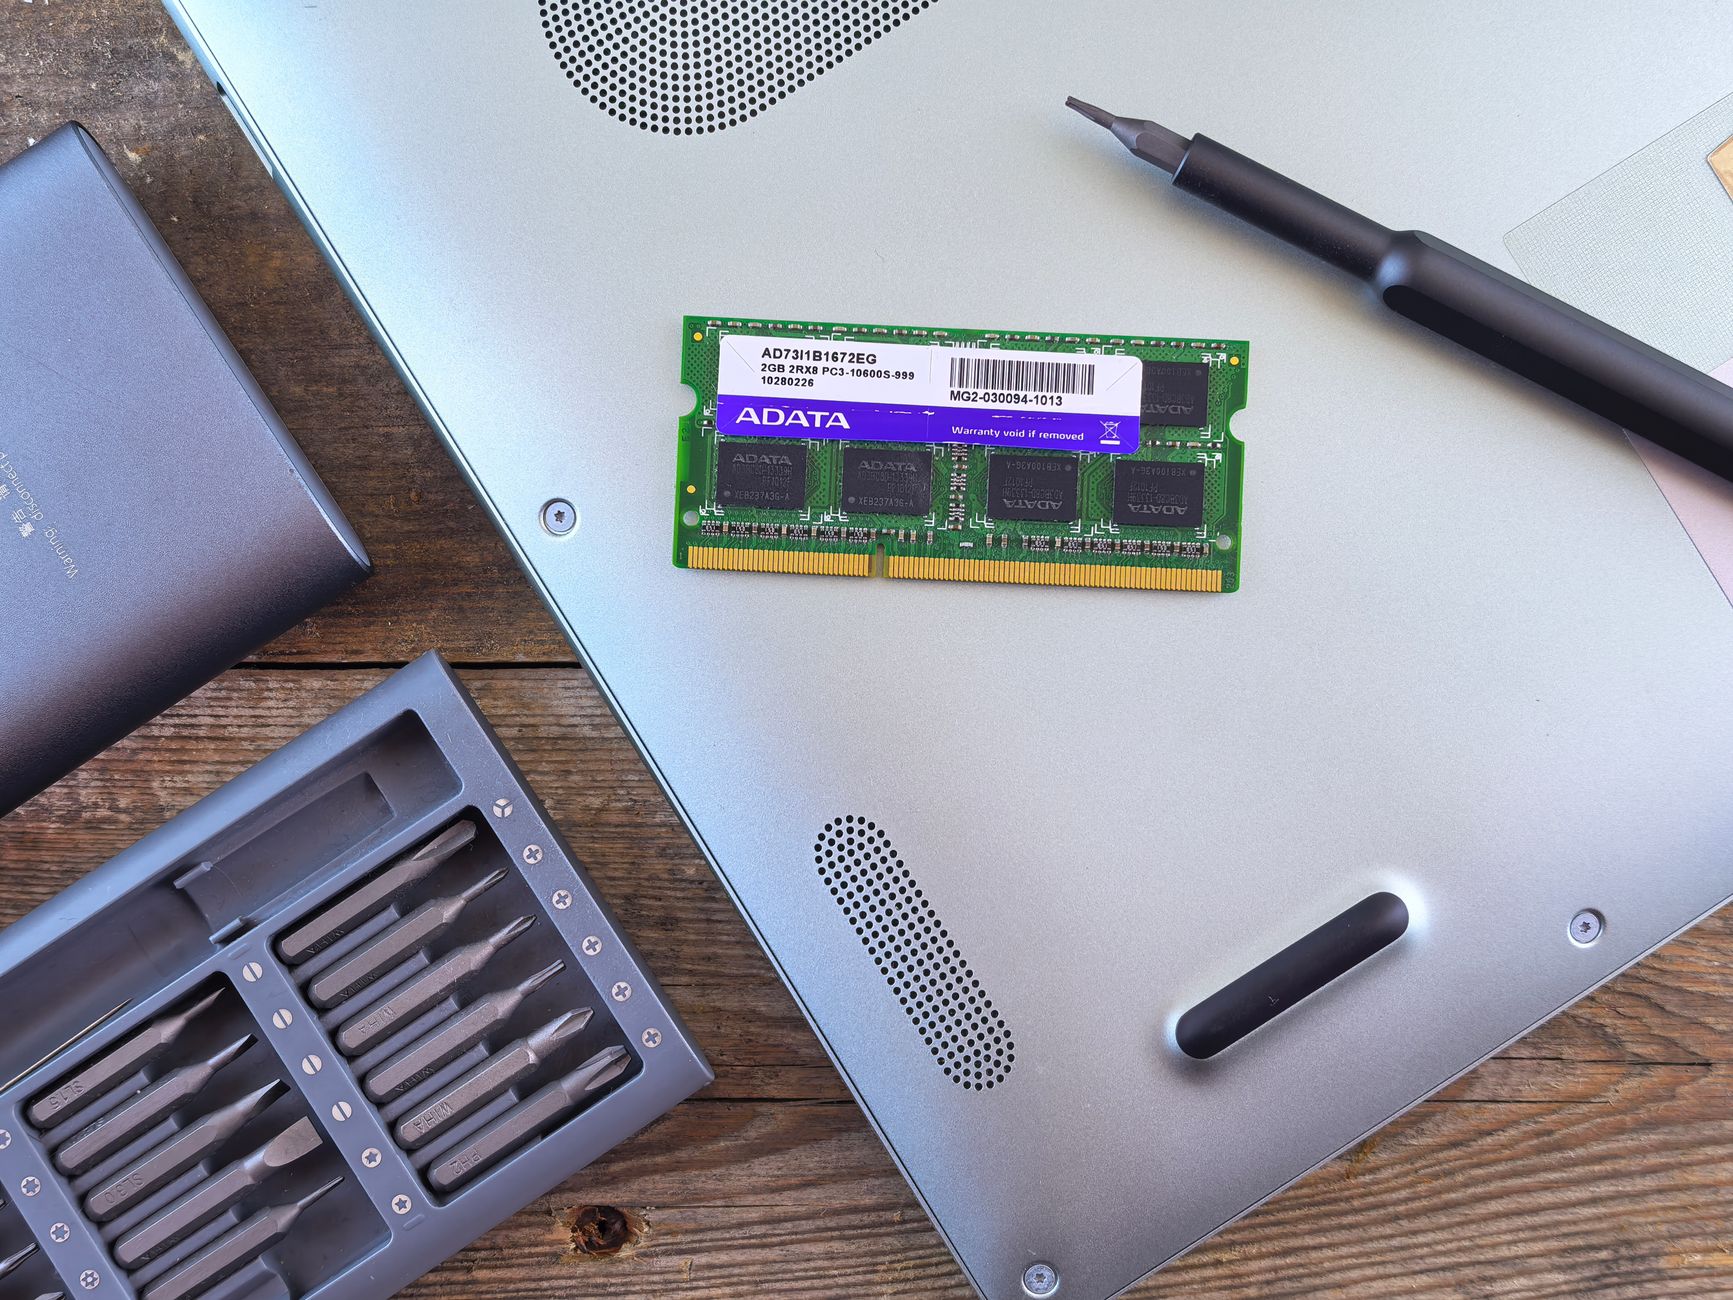
Upgrading your laptop’s memory (RAM) can significantly enhance its performance, especially if you’re often multitasking or using memory-intensive applications. This guide will walk you through the necessary steps to install memory in your laptop, ensuring compatibility and a smooth process.
With a little preparation, your laptop can run faster and handle more applications simultaneously, providing a better overall user experience. Let’s dive into the essentials of installing memory in your laptop.
How to Install Memory in Laptop?
To install memory in a laptop, you will need to follow a series of steps to ensure compatibility and successful installation. This guide will cover identifying compatible memory, preparing your laptop, physically installing the RAM modules, and checking for proper recognition.
Prerequisites for Installing Memory
Before you begin the installation process, make sure you have the following:
- Compatible RAM: Check your laptop’s specifications for RAM compatibility.
- Tools: You’ll need a Phillips head screwdriver.
- Anti-static wrist strap: To prevent static damage to components.
- Manual or guide: A manual for your specific laptop model, if available.
How to Check Compatibility
Ensuring that the memory you select is compatible with your laptop is crucial. Follow these steps to verify compatibility:
- Identify Your Laptop’s Model: This can usually be found on the base of the laptop or within the operating system settings.
- Check RAM Specifications: Locate the maximum RAM supported by your laptop model. This can often be found in the user manual or on the manufacturer’s website.
- Determine RAM Type: Most laptops utilize DDR3 or DDR4 RAM. Check which type is supported by your laptop.
- Consult Online Resources: Websites like Crucial or Kingston provide user-friendly tools to help find compatible RAM.
Gather Your Resources
Once you’ve identified the necessary RAM, gather everything you need:
- New RAM modules
- Small Philips screwdriver
- Anti-static wrist strap
Preparing Your Laptop for Installation
Preparation is vital before installing the new RAM to ensure safety and avoid damage.
- Shut Down Your Laptop: Ensure your laptop is completely powered off.
- Unplug It: Disconnect the power adapter from your laptop.
- Remove the Battery: If your laptop has a removable battery, take it out to prevent any electrical issues.
- Discharge Static Electricity: Touch a grounded metal object to discharge any static electricity before handling internal components.
Opening Your Laptop
Follow these steps to access the laptop’s memory slots:
- Locate the Access Panel: Most laptops have an access panel for the RAM. Refer to your laptop manual to find its location.
- Unscrew the Panel: Utilize the Phillips head screwdriver to carefully remove the screws holding the access panel in place.
- Remove the Panel: Gently lift the access panel off to reveal the RAM slots (be cautious not to damage any clips or connectors).
Installing the New RAM
Now that you have access to the RAM slots, follow these steps to install the new memory:
- Identify Existing RAM Slots: If you are upgrading RAM, locate the existing modules. If both slots are free, proceed to the next step.
- Remove Existing RAM (if necessary): If you are replacing old RAM, gently push the clips on either side of the RAM module outward, and the module will pop up at an angle; carefully pull it out.
- Insert the New RAM: Align the notch on the RAM module with the key in the RAM slot and insert it at an angle (about 30 degrees). Press down firmly until the clips click into place.
- Repeat (if adding additional RAM): If you are installing another module, repeat this process for the second slot.
Reassembling the Laptop
After installing the RAM, it’s time to reassemble your laptop:
- Replace the Access Panel: Align the panel back into place and secure it with screws.
- Reinsert the Battery: If applicable, put the battery back into your laptop.
- Reconnect the Power Adapter: Plug in the laptop to prepare for startup.
Powering On the Laptop
Follow these steps to check if the laptop recognizes the new memory:
- Power On the Laptop: Press the power button to start your computer.
- Access BIOS (if required): Some laptops require you to check the memory in the BIOS. To access BIOS, rapidly press the designated key during startup (often F2, DEL, or ESC).
- Check Memory Availability: Look for the memory information on the BIOS screen to ensure the new RAM is recognized.
- Boot into the Operating System: If everything is in order, boot into your operating system.
Checking Installed RAM in the Operating System
After booting into your OS, check if the new RAM has been recognized:
- For Windows: Right-click on ‘This PC’ or ‘My Computer’, select ‘Properties’, and check the installed memory under ‘System’.
- For macOS: Click on the Apple logo in the top-left corner, select ‘About This Mac’, and review the memory information.
Troubleshooting Common Issues
If the laptop does not recognize the new RAM or fails to boot, consider these troubleshooting steps:
- Check RAM Compatibility: Ensure the type and capacity of the RAM match what your laptop supports.
- Reinstall Memory Modules: Remove and reseat the RAM, ensuring a proper connection.
- Inspect for Dust or Dirt: Check the slots for dust buildup. Clean them gently using compressed air.
- Update BIOS: Sometimes, a BIOS update can resolve compatibility issues.
Alternatives to Installing RAM
If installing RAM seems daunting or doesn’t resolve your performance issues, consider these alternatives:
- Upgrade to an SSD: Replacing an HDD with a Solid State Drive can dramatically improve system responsiveness and boot times.
- Optimize System Settings: Check for unnecessary startup programs and disable them to free up RAM usage.
- Clean up Disk Space: Utilize tools to remove unnecessary files and applications, freeing up resources.
Final Considerations
Installing memory in a laptop can enhance its capabilities significantly. Always ensure compatibility and handle components with care to avoid damage. Remember that performing upgrades may void your warranty, so it’s wise to check your warranty details before proceeding.
By following the detailed steps outlined in this guide, you can successfully install memory in your laptop, boosting its performance for your needs.
For further insights, check out our guides on how to install RAM and how to check your motherboard model for compatibility tips. Upgrade your tech knowledge and keep your devices running smoothly!