
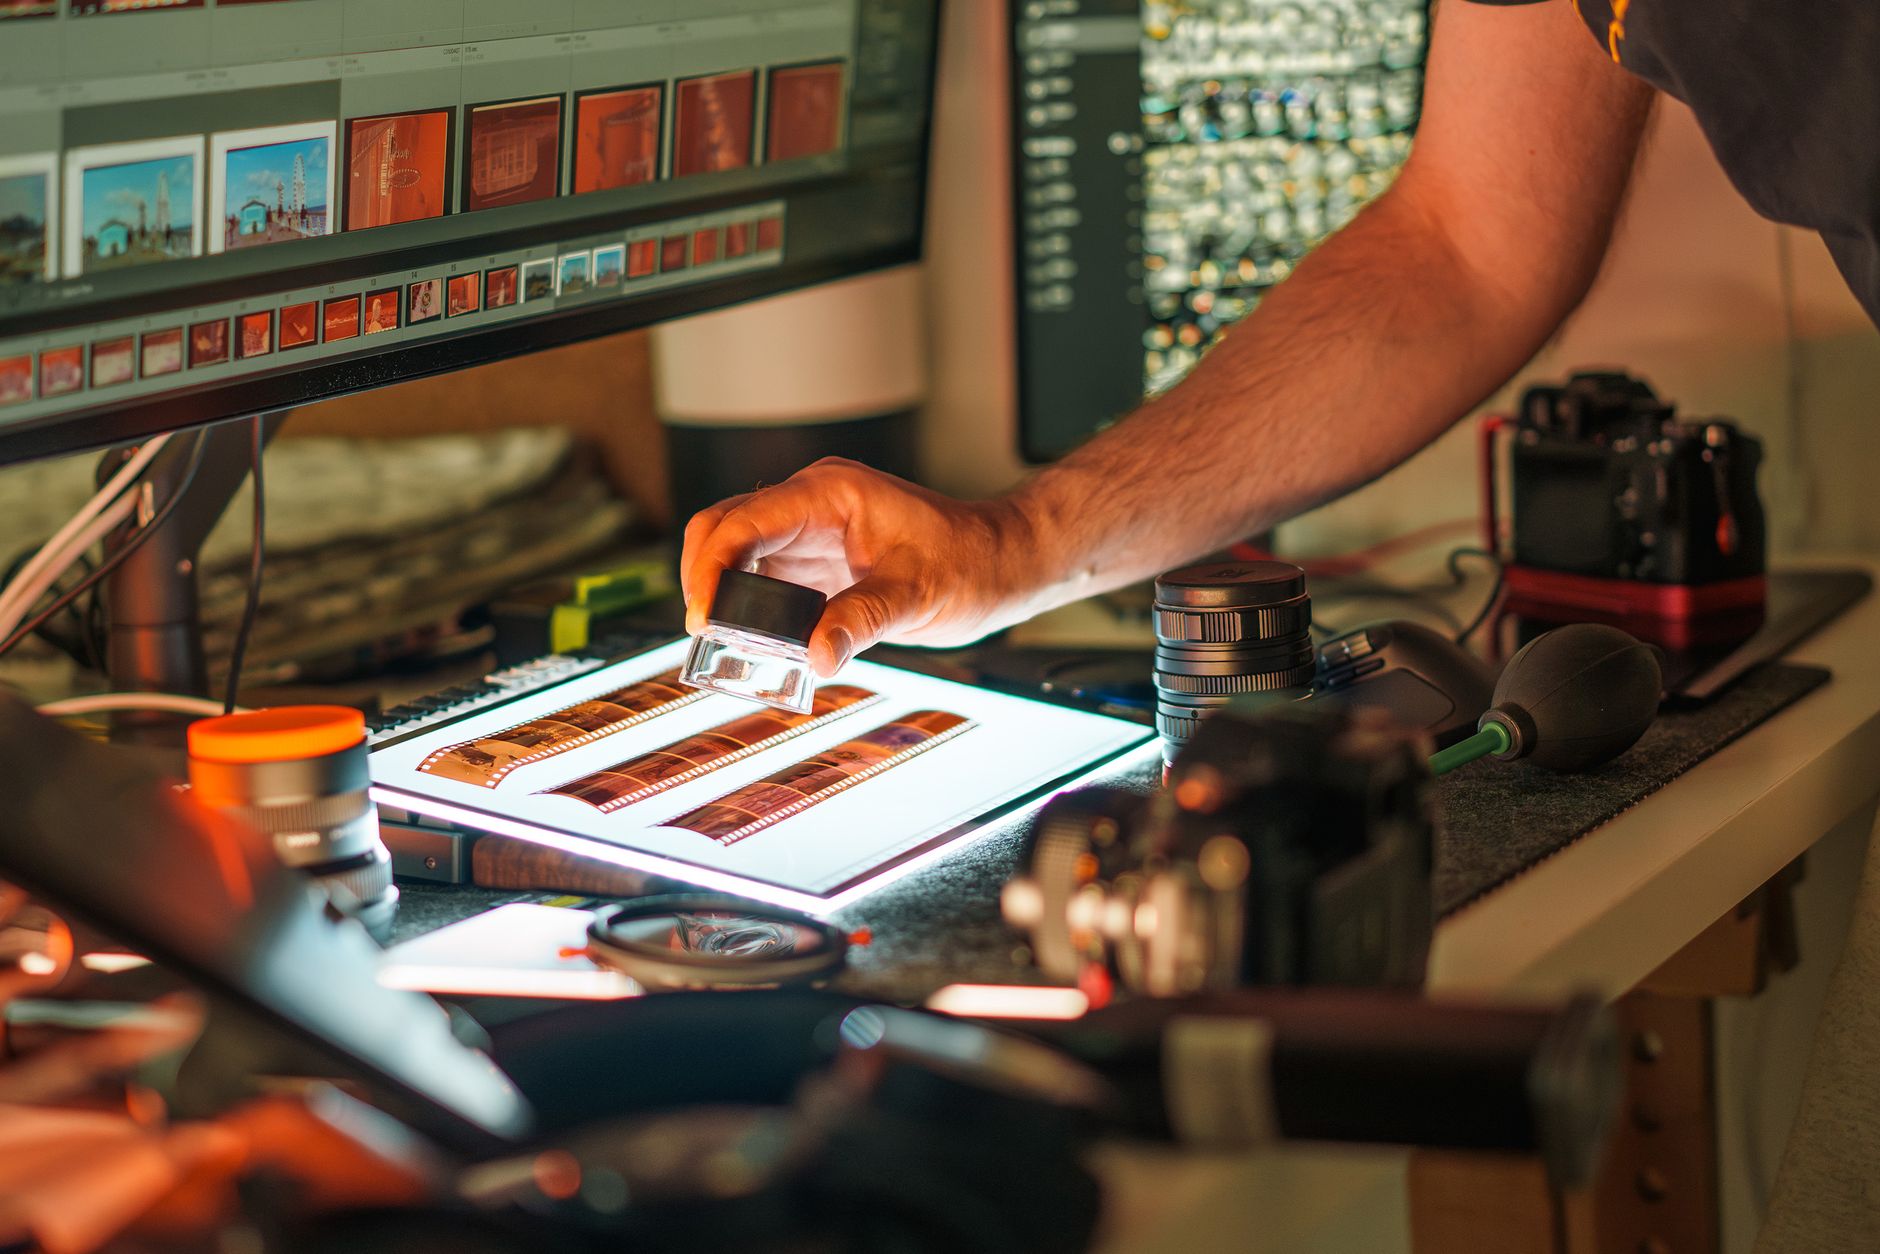
Scanning film negatives is an essential step for photographers and hobbyists who wish to digitize their film collections. By converting negatives into digital files, you can preserve memories, create prints, or share images easily online. In this article, we will cover the necessary equipment, settings, and tips for successfully scanning film negatives.
Whether you’re using a dedicated film scanner, a flatbed scanner, or even a digital camera setup, understanding how to scan negatives effectively will help ensure high-quality results. We’ll explore various methods, necessary software, and crucial settings to optimize your scans.
How to Scan Film Negatives?
To scan film negatives effectively, you’ll need to follow specific steps involving equipment selection, scanning process, and image adjustments. The best results often come from careful preparation and understanding of the technology involved.
Equipment and Prerequisites
Before diving into the scanning process, you need to gather the necessary equipment and prerequisites. Here is a list of what you’ll need:
- Scanner Options: Choose between a dedicated film scanner, a flatbed scanner with a transparency adapter, or an alternative method using a digital camera.
- Film: Ensure your film negatives are clean and free from dust or fingerprints.
- Computer: Have a computer with sufficient processing power and storage for your digitized images.
- Software: Install image scanning software that supports your chosen scanner.
- Lighting Source (if using a digital camera): A consistent light source, such as an LED panel, is essential for even illumination.
Selecting the Right Scanner
Your scanning method can significantly affect the quality of your digitized images. Here are the common types of scanners to consider:
Dedicated Film Scanners
Dedicated film scanners are designed exclusively for scanning negatives and slides. They typically provide the highest quality scans due to their specialized sensors and optics. Key features of dedicated film scanners include:
- High-resolution output (usually 2400 dpi or higher).
- Calibration and color correction capabilities.
- Easy-to-use software interface.
Flatbed Scanners
Flatbed scanners are more versatile and can scan a variety of formats, but their scanning quality may not match that of dedicated film scanners. However, if they come with a transparency adapter, they can effectively handle film negatives. When using a flatbed scanner, look for:
- A high optical resolution.
- The ability to adjust for film thickness.
- Good light source options for transparency scanning.
Using a Digital Camera
A digital camera setup provides a flexible and often cost-effective way to digitize film negatives. Using a camera, you can achieve high-quality images, but this method typically requires additional equipment like a macro lens and a light source. Consider this option if you want a DIY approach.
Preparing Film Negatives for Scanning
Before scanning, it is crucial to prepare your film negatives to ensure optimal quality. Consider these steps:
- Cleaning: Use a microfiber cloth or a specialized film cleaning solution to gently clean your negatives. This ensures that dust and fingerprints do not appear in your scans.
- Proper Handling: Handle the negatives by the edges to avoid touching the emulsion side, which can easily be damaged.
- Organization: Keep your negatives organized in sleeves to prevent scratches and tangling.
Scanning Process: Steps and Settings
Once you’ve selected your scanner and prepared your film, follow these general steps to scan your negatives:
1. Set Up the Scanner
Prepare your scanner according to the manufacturer’s instructions. If using a flatbed scanner, ensure that the transparency adapter is properly installed. Turn on the scanner and connect it to your computer.
2. Open Scanning Software
Launch the scanning software provided with your scanner. Familiarize yourself with the layout and included features. Common software options include:
- SilverFast
- VueScan
- Scannable
3. Choose the Correct Settings
When scanning film negatives, select these optimal settings in your scanning software:
- Resolution: Set the scanner to at least 2400 dpi for high-quality scans. If you plan to make large prints, you might consider even higher resolutions.
- Color Mode: Choose ‘Color’ for color negatives and ‘Grayscale’ for black-and-white negatives.
- Scan Type: Select “Slide” or “Transparency” mode, ensuring the software adjusts appropriately for film.
- File Format: Save your scans in a lossless format like TIFF or RAW if possible. JPEG is acceptable for smaller, compressed files but is not ideal for archiving.
4. Preview the Scan
Most scanning software will allow you to preview the image. Use the preview function to check the alignment and ensure that the entire negative is within the scanning area. Make necessary adjustments before proceeding.
5. Scan the Image
After confirming the settings and preview, scan the image. This process may take some time depending on the settings and resolution selected.
6. Post-Scan Adjustments
Once the scan is complete, analyze the image for any necessary adjustments. Common adjustments may include:
- Color balance correction to enhance tones.
- Dust and scratch removal using software tools.
- Cropping to remove unnecessary borders.
- Brightness and contrast adjustments for optimal visual appeal.
Image Editing Software
Editing software plays an essential role in refining scanned images. Below are notable software options that can help enhance your film scans:
- Adobe Photoshop: Industry-standard for image editing with comprehensive tools for cleaning scans, adjusting colors, and enhancing details.
- GIMP: A free alternative to Photoshop with many similar capabilities, ideal for basic image enhancements.
- Lightroom: Focused on cataloging and editing, it offers excellent tools for adjusting color grading and tonal corrections.
Common Issues and Troubleshooting
While scanning negatives, you might encounter common issues. Being aware of potential problems can save you time and effort. Here are some typical problems and their solutions:
1. Dust and Scratches
If your scans show dust and scratches, it could indicate that the negatives weren’t properly cleaned. To resolve this issue:
- Use a blower or anti-static brush before scanning.
- Utilize software tools designed for dust removal during editing.
2. Poor Color Reproduction
Color shifts or blotchiness may arise due to improper scanning settings. To fix this:
- Double-check that your scanner is set to the correct film type.
- Consider performing a manual color correction in your editing software.
3. Inconsistencies in Brightness
Inconsistent brightness can appear if the negatives were not exposed uniformly. Correct this by:
- Applying brightness adjustments in the editing stage.
- Ensuring even lighting when scanning with a camera.
Storing Scanned Images
After you have successfully scanned your negatives, proper storage of the digital files is essential. Consider these best practices:
- Backup: Always back up your scans in multiple locations, such as an external hard drive and cloud storage.
- Organize: Create folders for different projects or years for easy accessibility.
- Use Descriptive Filenames: Name your files descriptively so that they are easily identifiable.
Conclusion
Scanning film negatives is a rewarding process that can breathe new life into old memories. By choosing the right scanner, preparing your films, and utilizing the best practices outlined in this article, you’ll be able to create high-quality digital images of your film negatives. Embrace the workflow, familiarize yourself with your equipment, and don’t hesitate to explore further enhancements using image editing software.
To learn more about various tech tutorials, software tips, and scanning equipment comparisons, explore our collection of articles.