
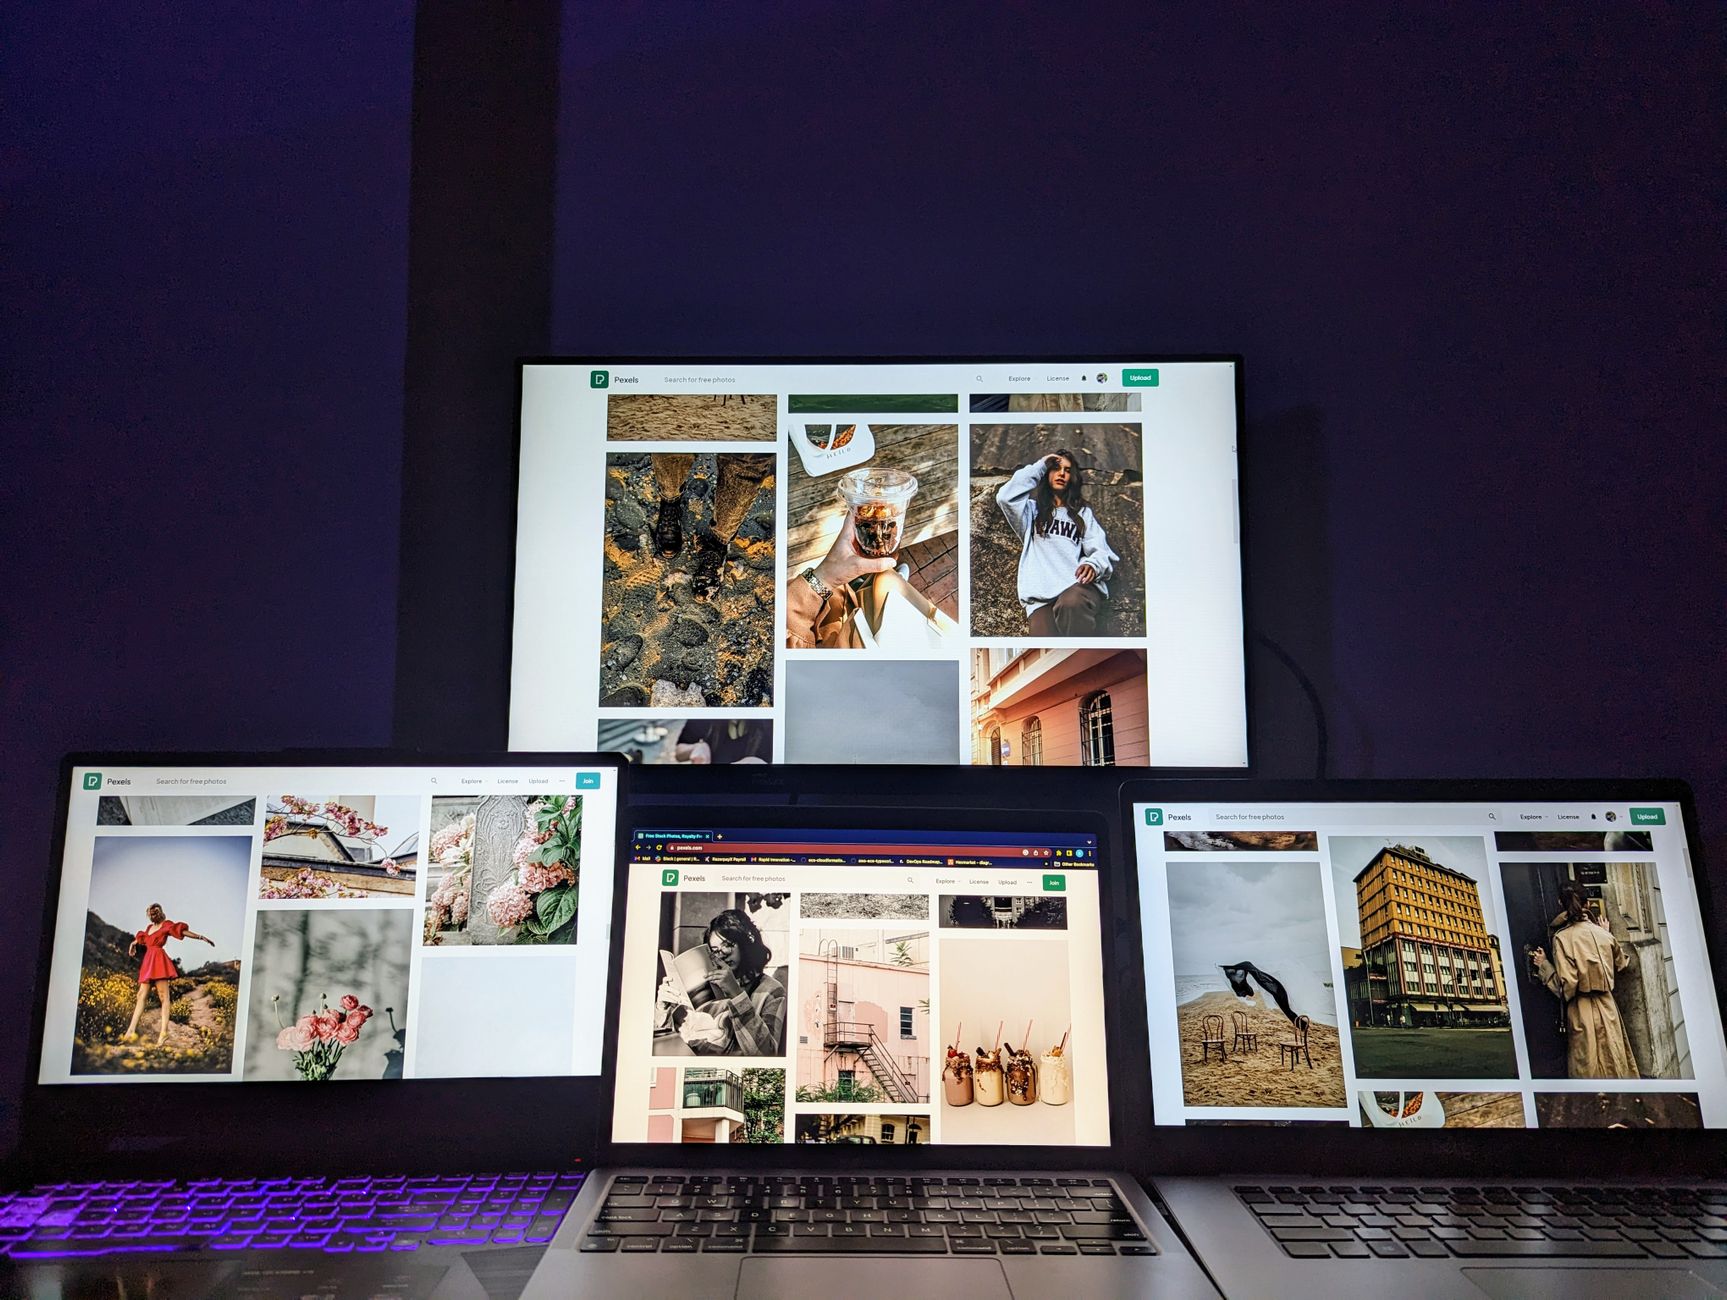
In today’s fast-paced digital environment, multitasking has become essential. Splitting your screen can significantly enhance productivity by allowing you to work with multiple applications simultaneously. Whether you are a Windows user, a Mac enthusiast, an iPad aficionado, or a Chromebook owner, knowing how to split your screen can streamline your workflow and save valuable time.
This article will guide you through the step-by-step processes to split your screen effectively across various platforms, ensuring you get the most out of your multitasking endeavors.
How to Split Screen?
Splitting your screen allows you to view and interact with multiple apps or documents concurrently. The method to achieve this differs by device, including Windows, Mac, iPad, and Chromebook. Here’s a detailed guide for each platform.
Splitting Your Screen on Windows
Windows operating systems offer several intuitive ways to split the screen. Below are the primary methods:
Using Snap Assist
Snap Assist is a feature in Windows 10 and 11 that simplifies the process of splitting the screen. Follow these steps:
- Open the applications you want to use.
- Select the first application window and drag it to the left or right edge of the screen until you see an outline confirming the snap area.
- Release the mouse button to place the window in that half of the screen.
- Windows will show you thumbnail previews of the other open windows. Choose a window to fill the other half of the screen.
Using Keyboard Shortcuts
For those who prefer using keyboard shortcuts, this method is quick and efficient:
- Open the first application.
- Press
Windows Key + Left Arrowto snap it to the left side orWindows Key + Right Arrowfor the right side. - Then, select the next application with the mouse or keyboard to fill the remaining space.
Adjusting Split Screen Layout
In Windows, you can adjust the size of the split-screen areas. Simply position your cursor on the boundary line between the two screens until it turns into a double-sided arrow. Click and drag to resize as you prefer.
Common Issues and Troubleshooting
Here are some common issues and their solutions:
- Windows not snapping: Ensure you have Snap Assist enabled in Settings. Navigate to
Settings > System > Multitaskingand toggle on Snap Windows. - Applications not displaying properly: Restart the applications, or try switching between tablet mode and desktop mode if you are using a convertible device.
How to Split Screen on Mac
On a Mac, the process to split the screen is also straightforward. Here’s how to do it:
Using Full-Screen Mode
- Open the first application you want to use.
- Click and hold the green full-screen button (the button with two overlapping arrows) in the upper-left corner of the window.
- As you hold the button, the window will shrink, allowing you to choose whether to move it to the left or right side of the screen.
- Select the other app you want to use on the opposite side. Clicking its window will set both applications in split view.
Exit Split View
To exit split view, click the green full-screen button again in either window.
Common Issues and Troubleshooting
Users may encounter some issues while using split-screen on Mac:
- Apps not supporting split view: Not all applications are compatible with split view. Try using native Mac applications for best results.
- Screen not splitting: Ensure you are not in full-screen mode. If you are in full-screen, exit by pressing
EscorCmd + Control + F.
Splitting the Screen on iPad
The iPad’s multitasking features provide an excellent way to run two apps side by side. Here’s how to access and use it:
Using Split View
- Open the first application you want to use.
- Swipe up or press the Home button to reveal the dock.
- Locate your second application in the dock.
- Swipe up and drag the second app to the left or right side of the screen until it opens next to the first application.
Using Slide Over
If you prefer to use Slide Over mode:
- Open the initial app and access the dock.
- Drag the second app to the screen’s edge.
- The second app will open in a floating window on top of the initial app, which can be resized or moved.
Common Issues and Troubleshooting
Here are some common issues you might face while using multitasking on an iPad:
- Split View not available: Confirm that you are using a compatible app. Not all apps support Split View or Slide Over.
- Screen glitches: Restart the iPad if windows aren’t working properly or if they become unresponsive.
How to Split Screen on Chromebook
Chromebook users can also benefit from split-screen functionality, particularly useful for students and professionals alike. Here’s how:
Using Keyboard Shortcuts
One of the quickest ways to split the screen on a Chromebook is through keyboard shortcuts:
- Open the application you wish to move.
- Press
Alt + [to snap it to the left side orAlt + ]for the right side. - Open the second application, and it should automatically fill the remaining space on the screen.
Using the Mouse
You can also split the screen using the mouse:
- Click and drag the title bar of the application window to the left or right edge of the screen until a translucent outline appears.
- Release the mouse button to snap it to that side.
- Open your second application; it should fill in the available space.
Common Issues and Troubleshooting
Here are some potential issues you may encounter along with their solutions:
- Apps won’t snap: Ensure your Chromebook is running the latest version of Chrome OS. Check for updates via
Settings > About Chrome OS. - Applications freezing: If an application is unresponsive, try closing it and reopening it, or use
Shift + Escto access the Task Manager to terminate unresponsive tasks.
Tips for Effective Multitasking
Employing split-screen functionality can improve your productivity significantly. Here are some tips to maximize your multitasking experience:
- Choose the right applications: Use applications that complement each other. For instance, having a video call application open next to a document editor can boost collaboration efforts.
- Utilize focus modes: Most operating systems now feature focus or do-not-disturb modes. Use these to minimize notifications and distractions while multitasking.
- Customize your workflow: Adjust the size of your split-screen windows according to your task requirements. Make sure to give priority to the windows you need more visibility.
- Practice keyboard shortcuts: Familiarize yourself with keyboard shortcuts relevant to your applications. They can streamline your workflow further and reduce reliance on the mouse.
Conclusion
Splitting your screen across various devices can significantly help boost productivity by allowing multitasking in a more seamless manner. Whether you are using Windows, Mac, iPad, or Chromebook, the methods to employ this feature are simple and effective. By mastering these techniques, you can easily manage multiple applications and information flows.
Now that you know how to split your screen, consider exploring related tech tutorials, such as how to connect two monitors and how to screen record on Chromebook. Equip yourself with essential skills to enhance your digital experience!