
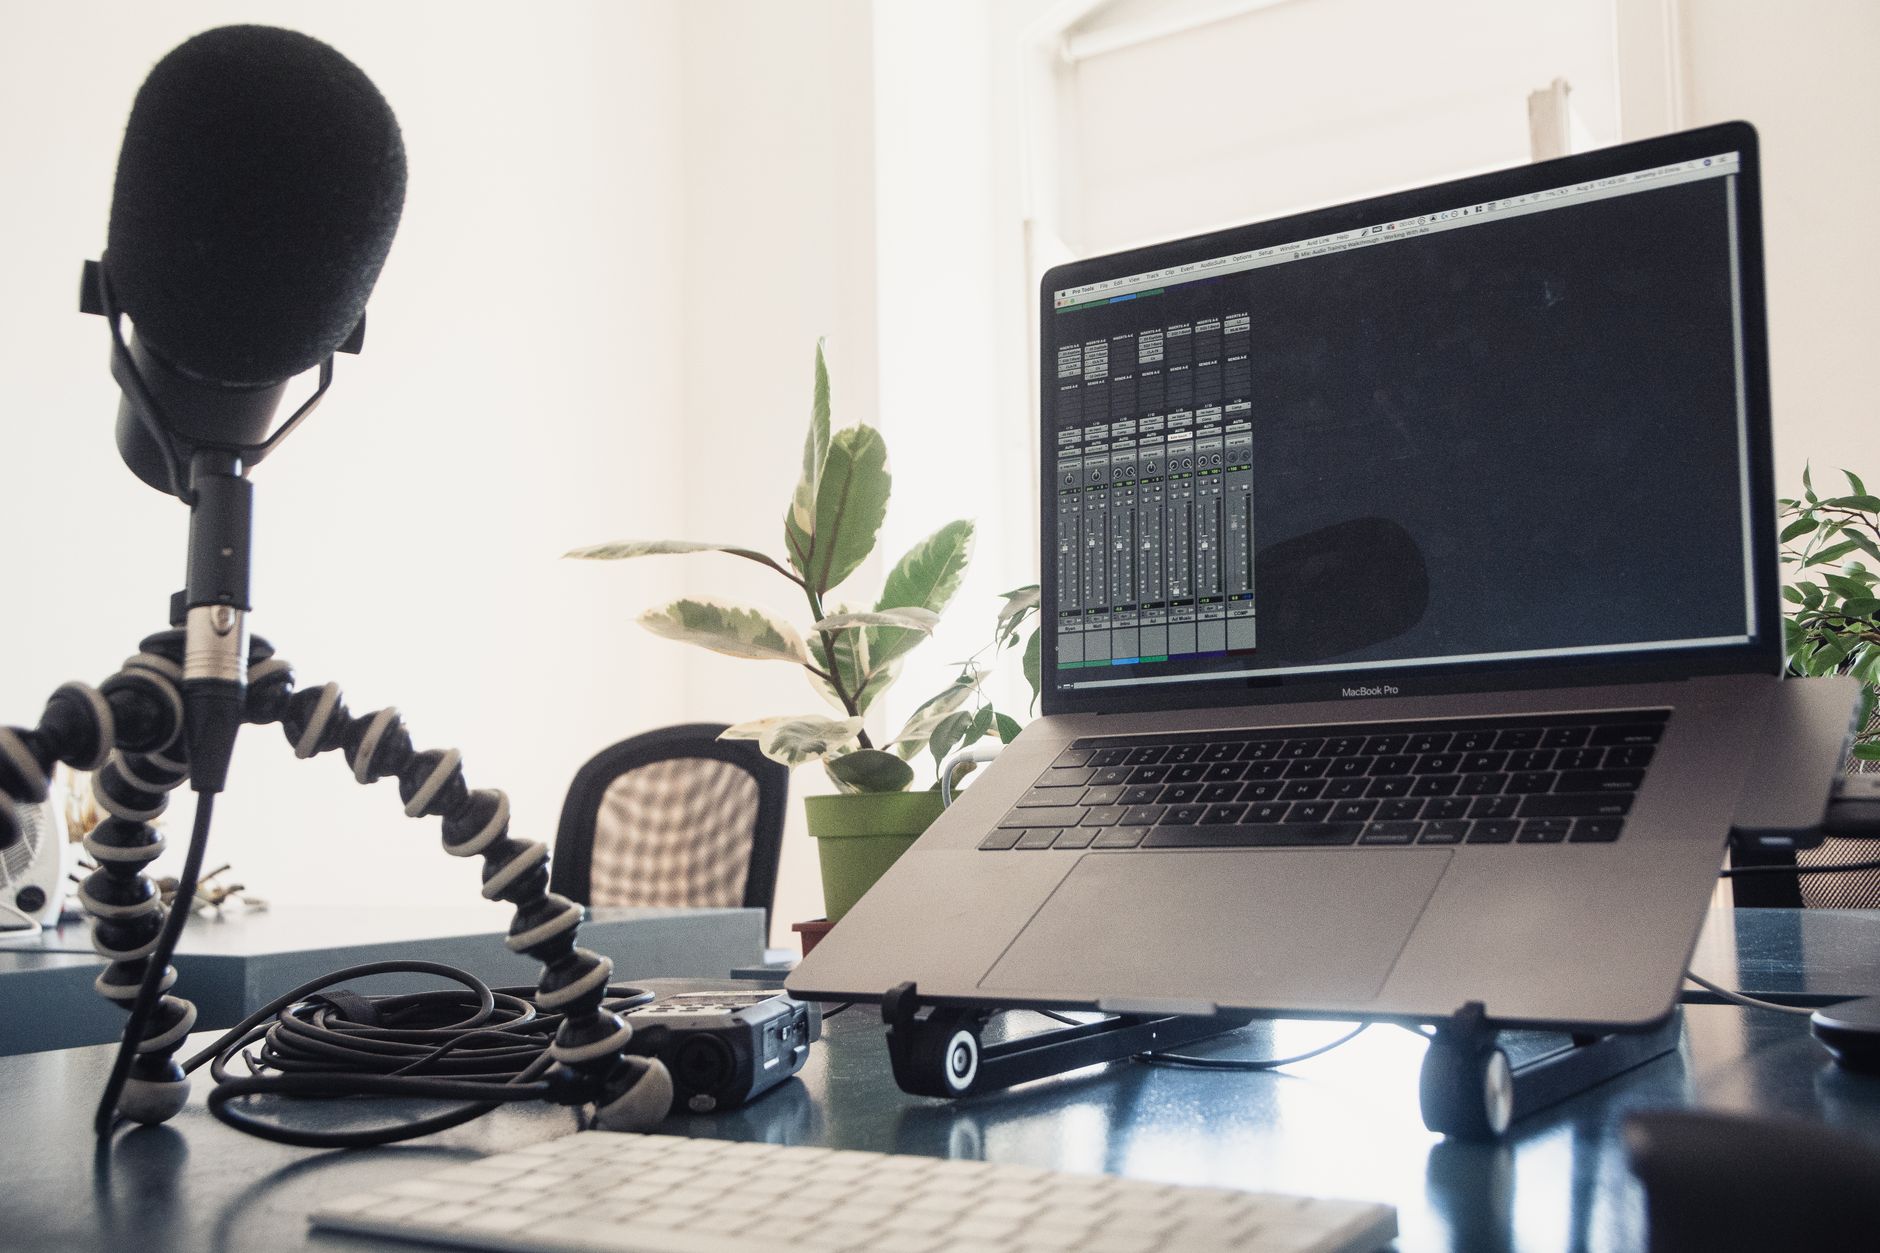
Screen recording on a Mac can be a useful feature for creating tutorials, capturing gameplay, or recording video calls. However, at times, you might need to stop a recording due to various reasons, such as finishing your needed footage or adjusting audio settings. Understanding how to stop screen recording on your Mac, especially when dealing with audio settings, is essential for efficient video production.
In this article, we will guide you through the steps to stop screen recording on a Mac, particularly focusing on how to manage and adjust audio settings effectively during the process. Whether you are using the built-in screen recording feature of macOS or third-party applications, we will ensure you have a complete understanding of how to stop your recordings seamlessly.
How to Stop Screen Recording on Mac?
To stop a screen recording on a Mac, you can use both keyboard shortcuts and specific controls depending on the application being used. When utilizing macOS’s built-in screen recording feature, it’s quite straightforward. Here’s the answer to how to do it:
- Locate the screen recording controls in your menu bar.
- Click on the stop recording button or use a keyboard shortcut, depending on your setup.
- Review your recorded video to ensure it meets your needs.
Now, we will delve into more detailed steps, separating the instructions for using macOS’s built-in tools and those for third-party applications.
Using macOS Built-in Screen Recording Feature
Starting with macOS Mojave (10.14) and later, Apple introduced an in-built screen recording feature. Here’s how to use it and stop the recording correctly:
Prerequisites
- Your Mac must be running macOS Mojave (10.14) or later.
- Familiarity with the touch bar (for models with it) or keyboard shortcuts.
Steps to Start Screen Recording
- Press
Shift + Command + 5to bring up the screen recording tools. - Select whether to capture the entire screen, a selected window, or a selected portion.
- Click on the “Options” menu to configure settings, including audio.
Adjusting Audio Settings
Before starting your recording, you can select audio inputs. Here is how to adjust the audio settings:
- Click Options in the screen capture toolbar.
- Under the Microphone section, select your audio source. This can include options like “Built-in Microphone” or external microphones.
- If you want to include audio from your computer (e.g., system sounds or application sounds), check the option for “Show Mouse Clicks in Recording”. However, please note you might need additional software to capture such audio.
Stopping the Screen Recording
Once you finish recording, here are the ways to stop it:
- If you have the recording controls visible, click on the stop button that appears in the menu bar. This is typically represented by a small square inside a circle.
- Alternatively, you can press
Command + Control + Escto stop the recording immediately.
Reviewing Your Recording
After stopping the recording, your video will typically appear as a thumbnail in the bottom right corner of your screen:
- Click the thumbnail to review, edit, or share your recording.
- If you do nothing, the video file saves automatically to your desktop.
Using Third-party Screen Recording Applications
If you’re using a third-party application for screen recording, the method to stop a recording may vary based on the software. Below are instructions for some popular applications:
1. QuickTime Player
Many users utilize QuickTime Player for screen recording. Here’s how to stop a recording in QuickTime:
- To start screen recording, open QuickTime Player.
- Select File and then New Screen Recording.
- Press the red record button to begin capturing.
Stopping the Recording
- Locate the stop button in the menu bar at the top of the screen.
- Click on it to end the recording.
General Troubleshooting for Stopping Screen Recordings
Even with established methods, you may face issues when trying to stop screen recordings. Below are some common problems and solutions.
Common Errors
- No audio captured during recording.
- Unable to locate the recording controls.
- Recording does not stop using keyboard shortcuts.
Likely Causes and Fixes
No Audio Captured
Check that you have selected the correct microphones in the audio options before you start recording. Make sure the microphone is plugged in or turned on.
Recording Controls Not Visible
If the controls do not appear, try invoking the screen recording tools again using Shift + Command + 5. Ensure you are on the desktop or your main interface, as other applications may obscure the toolbar.
Keyboard Shortcuts Not Working
Make sure your keyboard has no input issues and that you’re pressing the correct combination. If troubles persist, restart your Mac and try again.
Managing Screen Recording Files
Stopping a screen recording typically results in a file saved on your desktop or pre-established save location. It’s important to manage these files to avoid clutter. Here’s how to manage them effectively:
Organize Your Files
- Consider creating a dedicated folder for all screen recordings.
- Delete any unwanted recordings immediately to save space.
- Regularly back up essential files to an external drive or cloud service.
Editing Screen Recordings
You may want to trim or edit recordings after you’ve finished. This can be done directly in QuickTime Player or using advanced video editing software such as Final Cut Pro or iMovie. To edit in QuickTime:
- Open the recording in QuickTime Player.
- Use the Edit menu to cut or trim segments as needed.
- Export the final version in your desired format.
Exploring Alternative Screen Recording Options
If stopping recordings proves cumbersome or if certain features are lacking, there are alternatives to consider:
ScreenFlow
ScreenFlow is a comprehensive screen recording and editing suite that allows greater flexibility in production. It combines excellent features for both recording and post-production within the same software.
Camtasia
Camtasia offers strong tools for creating professional-looking content while simplifying the recording and editing process. It caters to both novice users and experienced creators.
Conclusion
Being able to stop screen recording effectively on your Mac not only ensures you have the right material captured but also allows you to manage your audio settings efficiently. Whether using built-in tools or third-party applications, the steps outlined here should help you navigate the stopping process smoothly. By following these instructions, you will avoid common pitfalls and optimize your recording experience for better results.
If you want to enhance your overall Mac experience, consider checking out useful guides on how to delete an app on Mac or how to speed up MacBook for improved performance and usability.