
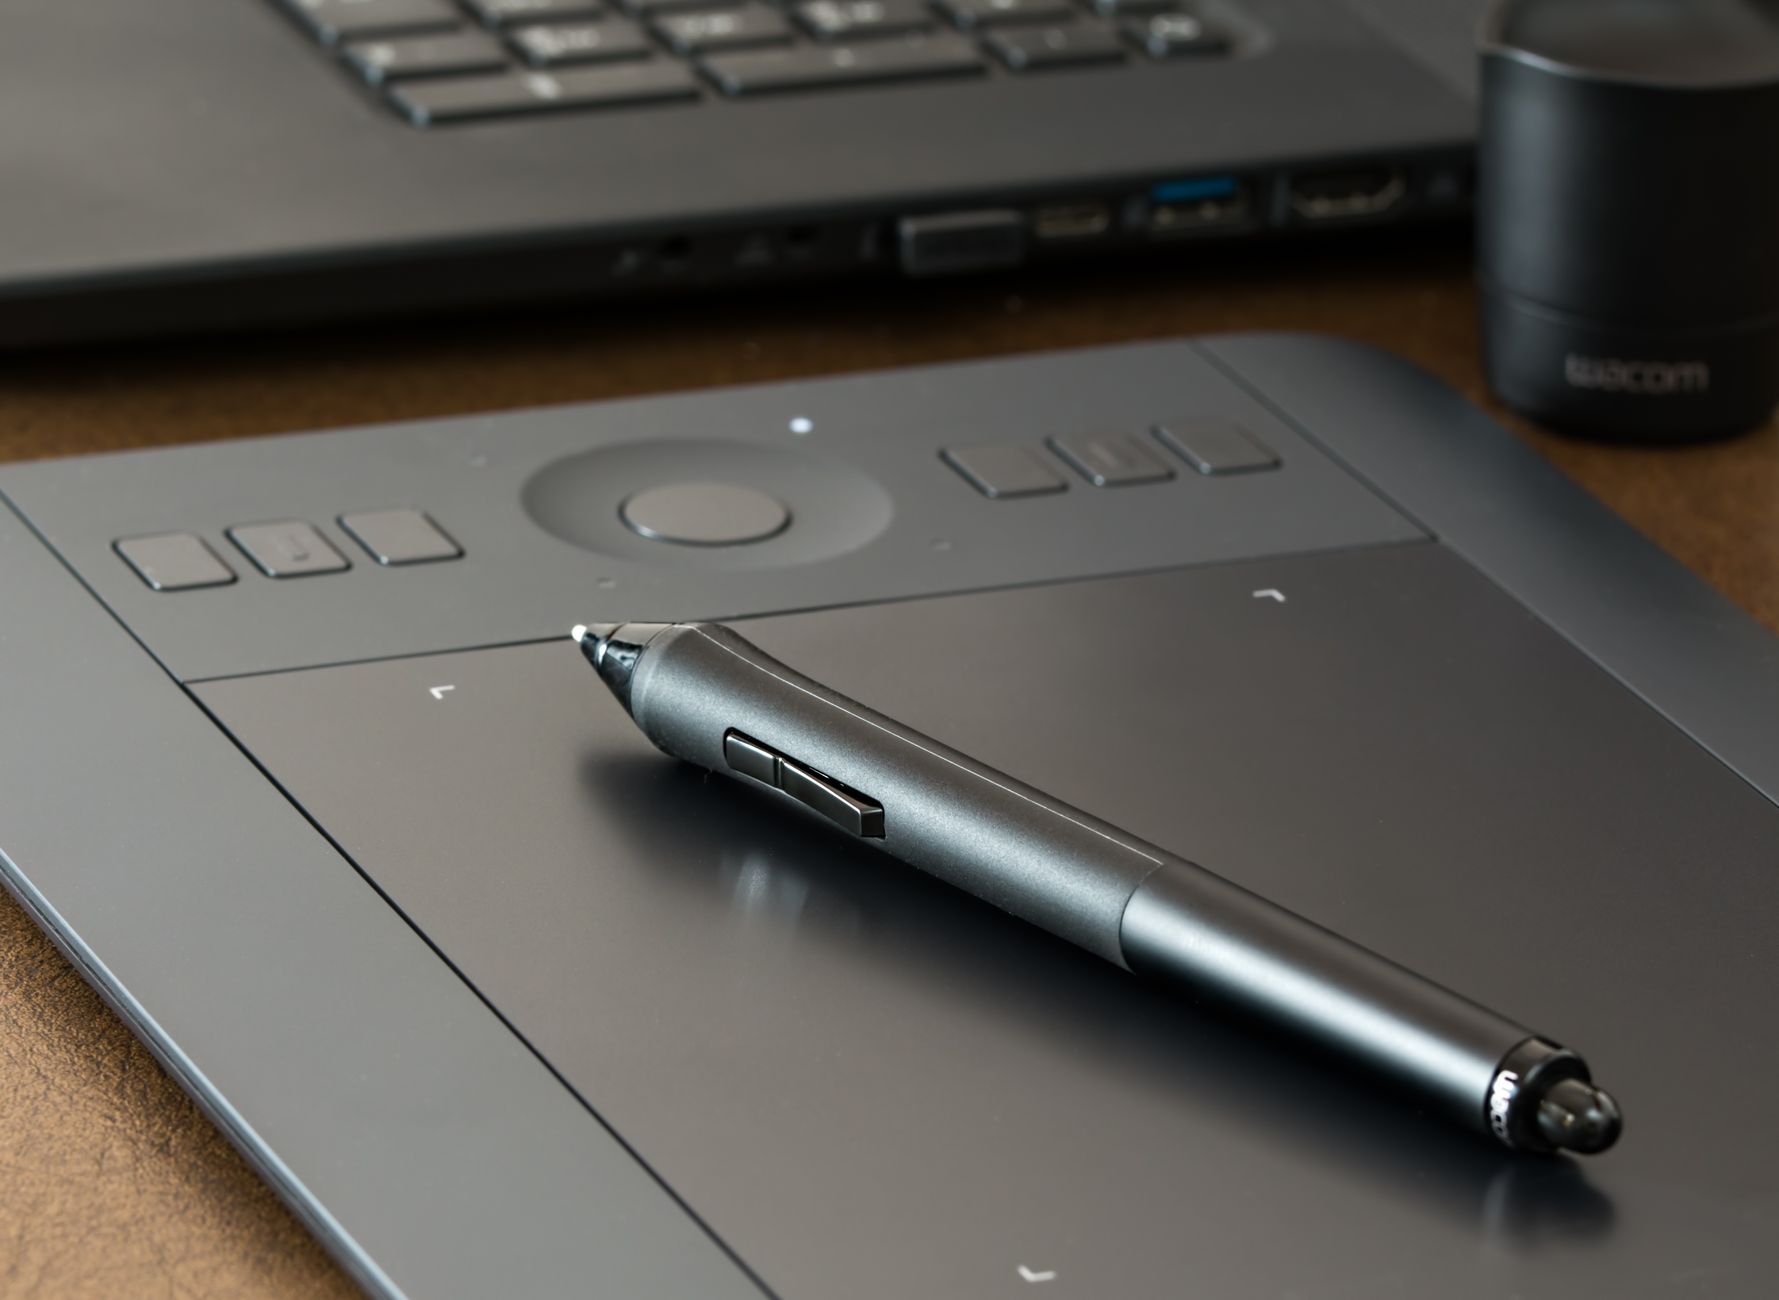
The Apple Pencil is an essential accessory for iPad users, offering precision and versatility for drawing, note-taking, and other tasks. Understanding how to turn on and properly charge your Apple Pencil is crucial for maximizing its functionality. This guide will walk you through the steps to turn on your Apple Pencil, pair it with your iPad, and troubleshoot common issues.
Whether you have the first-generation or second-generation Apple Pencil, the process has nuances that users should be aware of. By following this guide, you will be empowered to get your Apple Pencil up and running smoothly.
How to Turn On Apple Pencil?
Turning on your Apple Pencil involves both powering it up and pairing it with your iPad. This section details these two key steps.
Powering On Apple Pencil
The Apple Pencil does not have a traditional power button. Instead, it automatically powers on when you start using it with an iPad. Here’s how to ensure it’s ready for use:
- Check Battery Level: The Apple Pencil charges while connected to the iPad and can take some time to power up. To check the battery level, swipe down from the top-right corner of the iPad screen to access the Control Center, then look for the battery widget.
- Connect to iPad: Make sure your Apple Pencil is properly connected to your iPad, as it will not turn on until it recognizes the connection.
Pairing Apple Pencil
Pairing your Apple Pencil with your iPad is essential to ensure that it communicates properly. The pairing process differs slightly between the first-generation and second-generation Apple Pencil.
First-Generation Apple Pencil
- Remove the cap from the end of the Apple Pencil to expose the Lightning connector.
- Plug the Pencil into the Lightning port of the iPad.
- A prompt should appear on your iPad screen asking if you want to pair the Apple Pencil. Tap “Pair”.
- Once paired, you can unplug the Pencil from the iPad.
Second-Generation Apple Pencil
- Ensure that your iPad is compatible with the second-generation Apple Pencil (iPad Pro 11-inch and iPad Pro 12.9-inch models from 2018 and later).
- Magnetically attach the Apple Pencil to the side of the iPad.
- The iPad will automatically recognize the Apple Pencil and display a prompt to pair it. Tap “Pair”.
Charging Your Apple Pencil
Charging your Apple Pencil regularly is essential for continuous usage. The charging mechanism differs between the first and second generations. Follow these instructions for both versions.
First-Generation Apple Pencil Charging
- Remove the cap from the Apple Pencil to access the Lightning connector.
- Plug it directly into your iPad’s Lightning port. Alternatively, you can use the Apple Pencil charging adapter that comes in the box to charge it with a standard Lightning cable.
- While charging, you can check the battery level through the battery widget in the Control Center.
Second-Generation Apple Pencil Charging
- Simply attach the Apple Pencil to the magnetic strip on the side of the iPad. It will automatically start charging.
- You can check the battery level by swiping down from the top-right corner of the iPad to access the Control Center.
Troubleshooting Pairing and Charging Issues
Despite a smooth initial setup, users may encounter issues with pairing and charging their Apple Pencil. This section covers common problems and their solutions.
Common Pairing Issues
- Pencil Not Recognized: If the iPad does not recognize the Apple Pencil, ensure it’s compatible with your iPad model. Rebooting the iPad can also resolve connection issues.
- Failed Pairing Prompt: If the pairing prompt does not appear, try unpairing any existing Apple Pencil in the Bluetooth settings before attempting to connect again.
Common Charging Issues
- Pencil Not Charging: If your Apple Pencil is not charging, ensure it is securely connected to the iPad or properly attached to the magnetic charger for the second generation. Inspect the connectors for debris or damage.
- Battery Drain Issues: If your Apple Pencil is draining too quickly, check for any firmware updates for your iPad, as these can often improve battery management.
Resetting Settings
If all else fails, consider resetting your iPad’s settings. Go to Settings > General > Reset > Reset All Settings. This may resolve hidden configuration issues without deleting your data. Remember to perform a backup before doing this.
Maintaining Your Apple Pencil
To enhance the longevity and performance of your Apple Pencil, follow these maintenance tips:
- Use the Tip Protectors: Always use the tip protector when transporting your Apple Pencil to avoid damage.
- Keep it Clean: Regularly clean the connectors and tips to prevent dirt build-up, which could lead to connection issues.
- Optimal Charging: Avoid letting the battery drain to zero frequently. Charge it regularly to maintain battery health.
When to Seek Professional Help
If you’ve tried the troubleshooting steps and your Apple Pencil still isn’t functioning correctly, it may be time to seek professional support. Apple provides various support channels such as:
- Apple Support Website: Use official tutorials and troubleshooting guides.
- Apple Store: Visit an Apple Store for in-person inspections and repairs.
- Authorized Service Providers: Find authorized service providers in your area for assistance.
Conclusion
The Apple Pencil is a powerful tool that can significantly enhance creativity and productivity on your iPad. Knowing how to turn it on, pair it, and charge it is essential for seamless operation. Remember to maintain your device and ensure compatibility with your iPad. Regular troubleshooting can also help resolve any hiccups quickly.
For additional assistance, explore our guides on how to charge your Apple Pencil and how to pair your Apple Pencil.